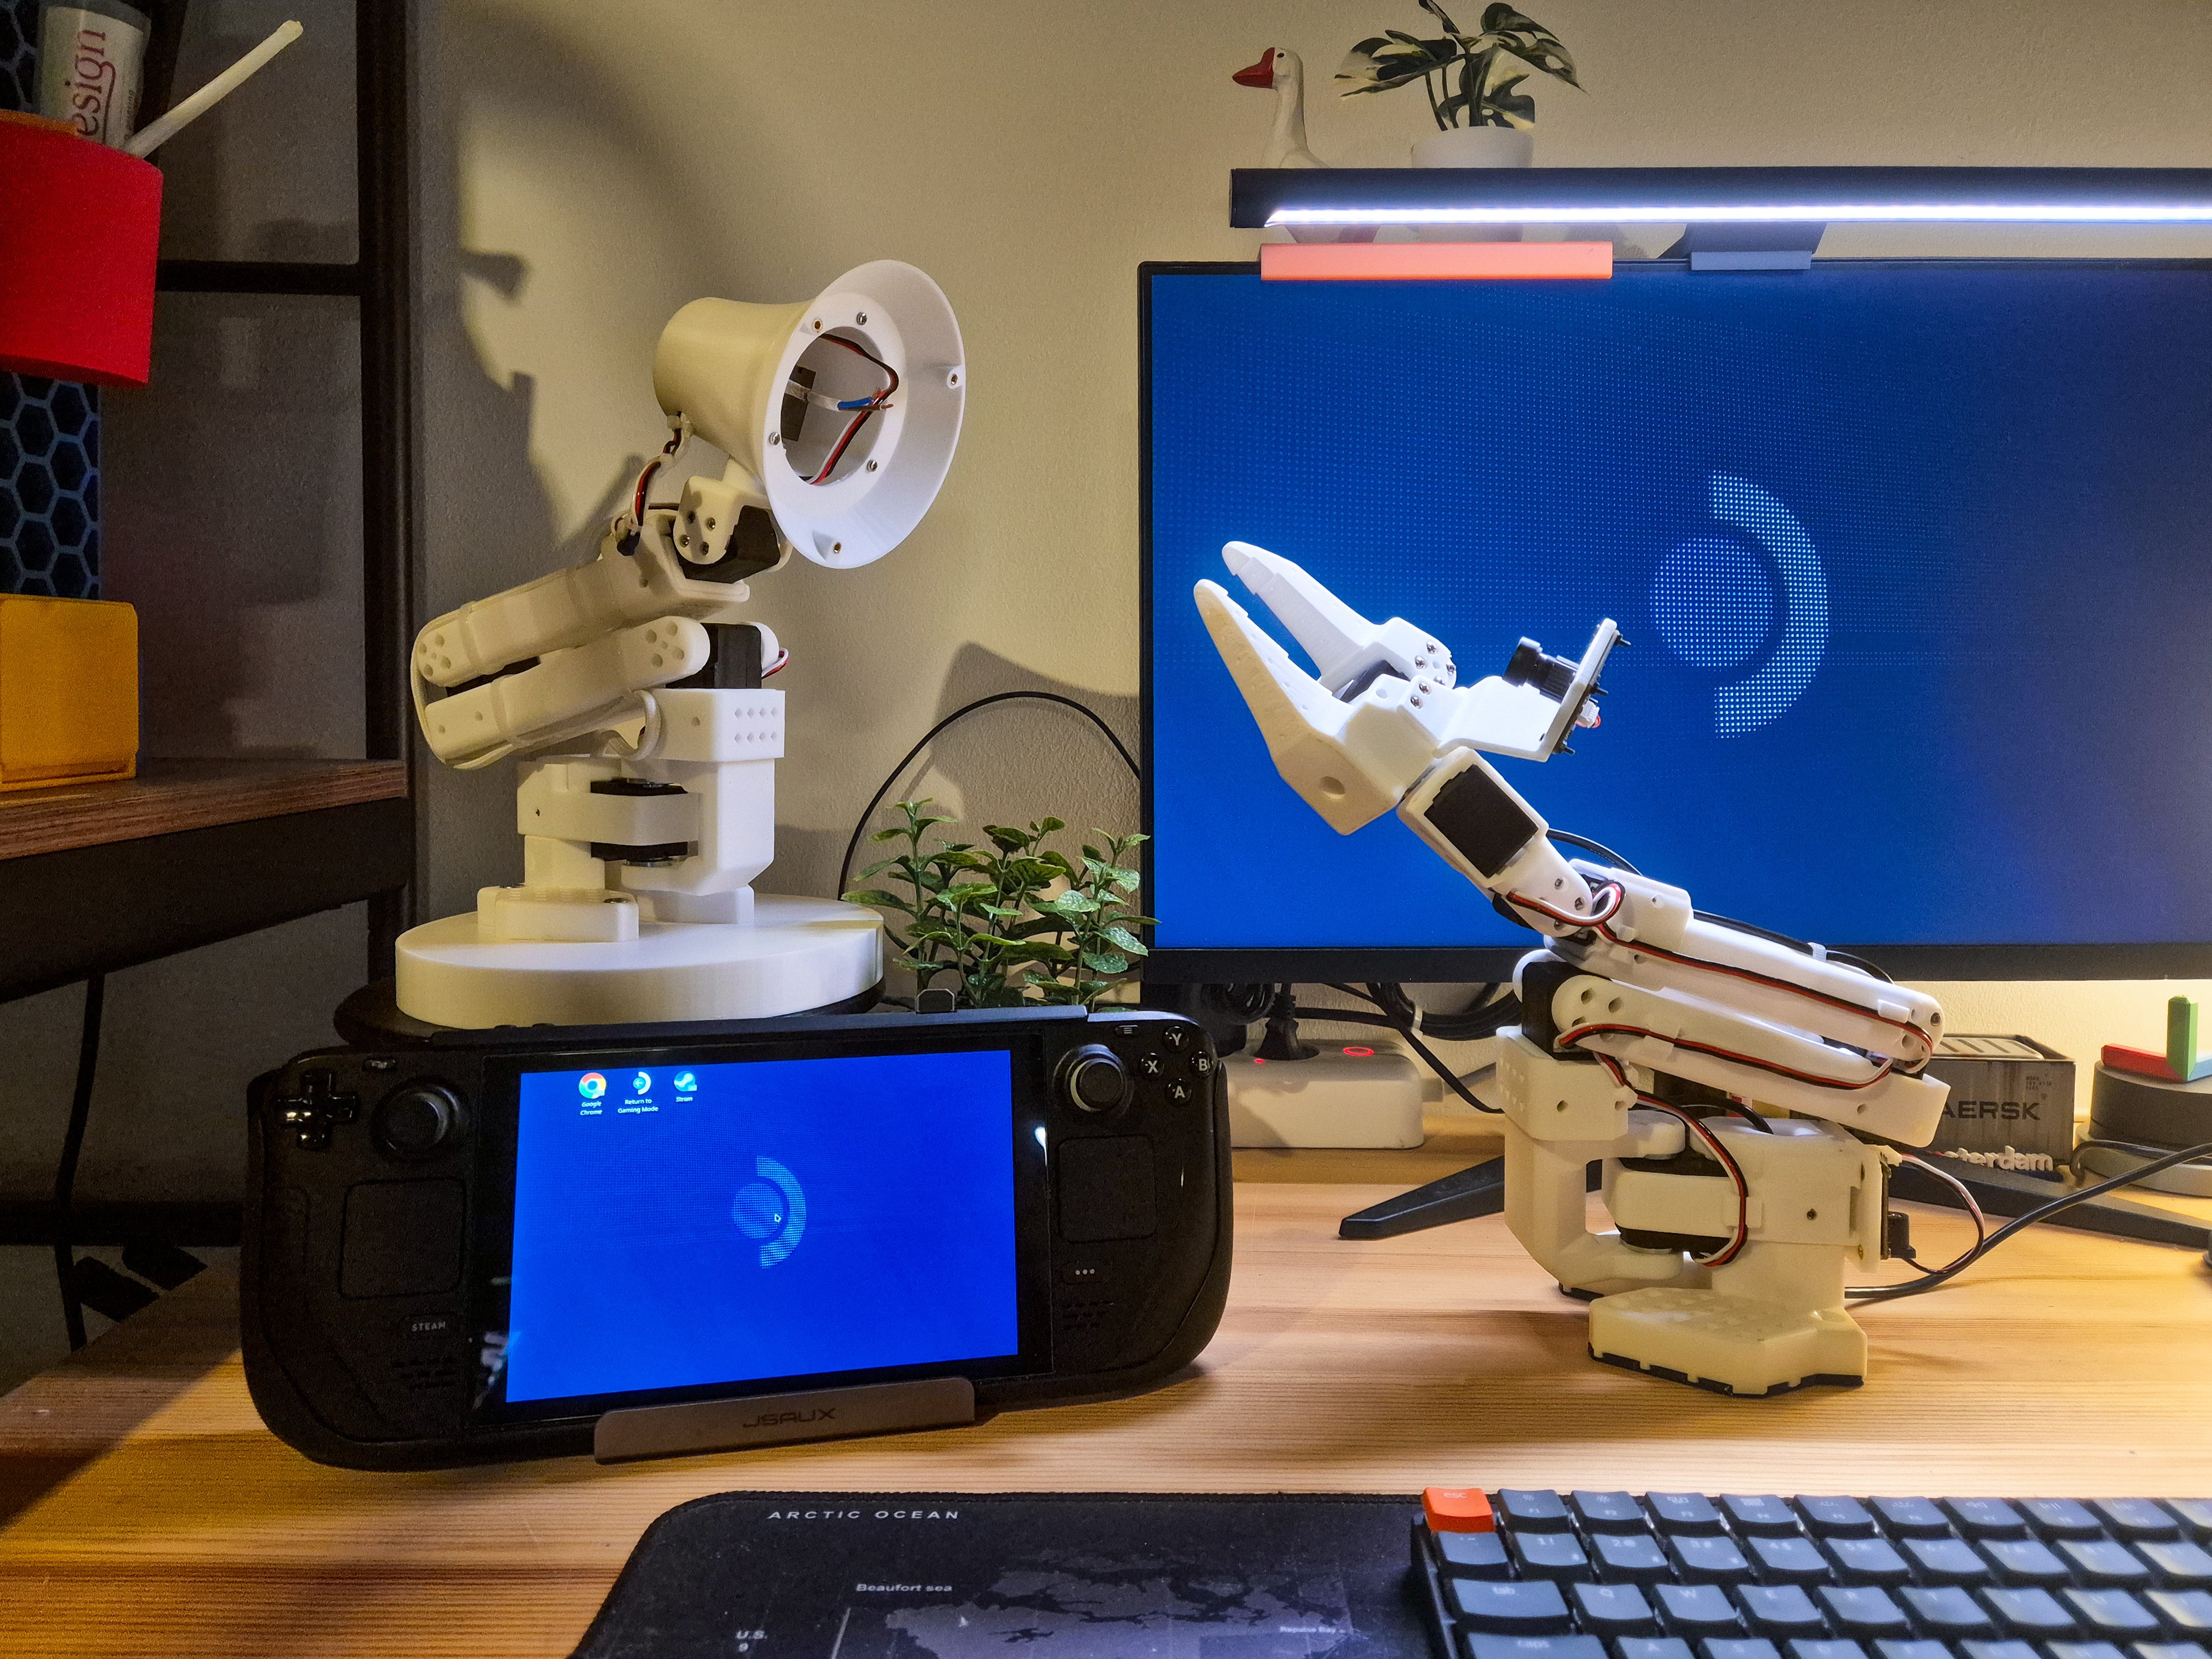

Adding Voice Control to LeKiwi
Mounting and testing Seeed Studio's reSpeaker Flex on LeKiwi

I've been gradually turning LeKiwi into a proper ROS 2 robot as part of an ongoing series, and alongside that, tinkering with AI agents that live on LeKiwi's Raspberry Pi. So far, I've set up nanobot (a lightweight OpenClaw alternative), and have been vibe-coding ros2-skill- a local Agent Skill consisting of rules and scripts for running ROS 2 commands via natural language. I decided to build my own, as a learning experience, inspired by projects like ros-mcp-server, AgenticROS and ros-skill. Currently, I can communicate with my nanobot agent over Discord by typing commands and reading the responses back; however, the obvious next step is actually to speak with it. That means adding a microphone and a speaker to LeKiwi.
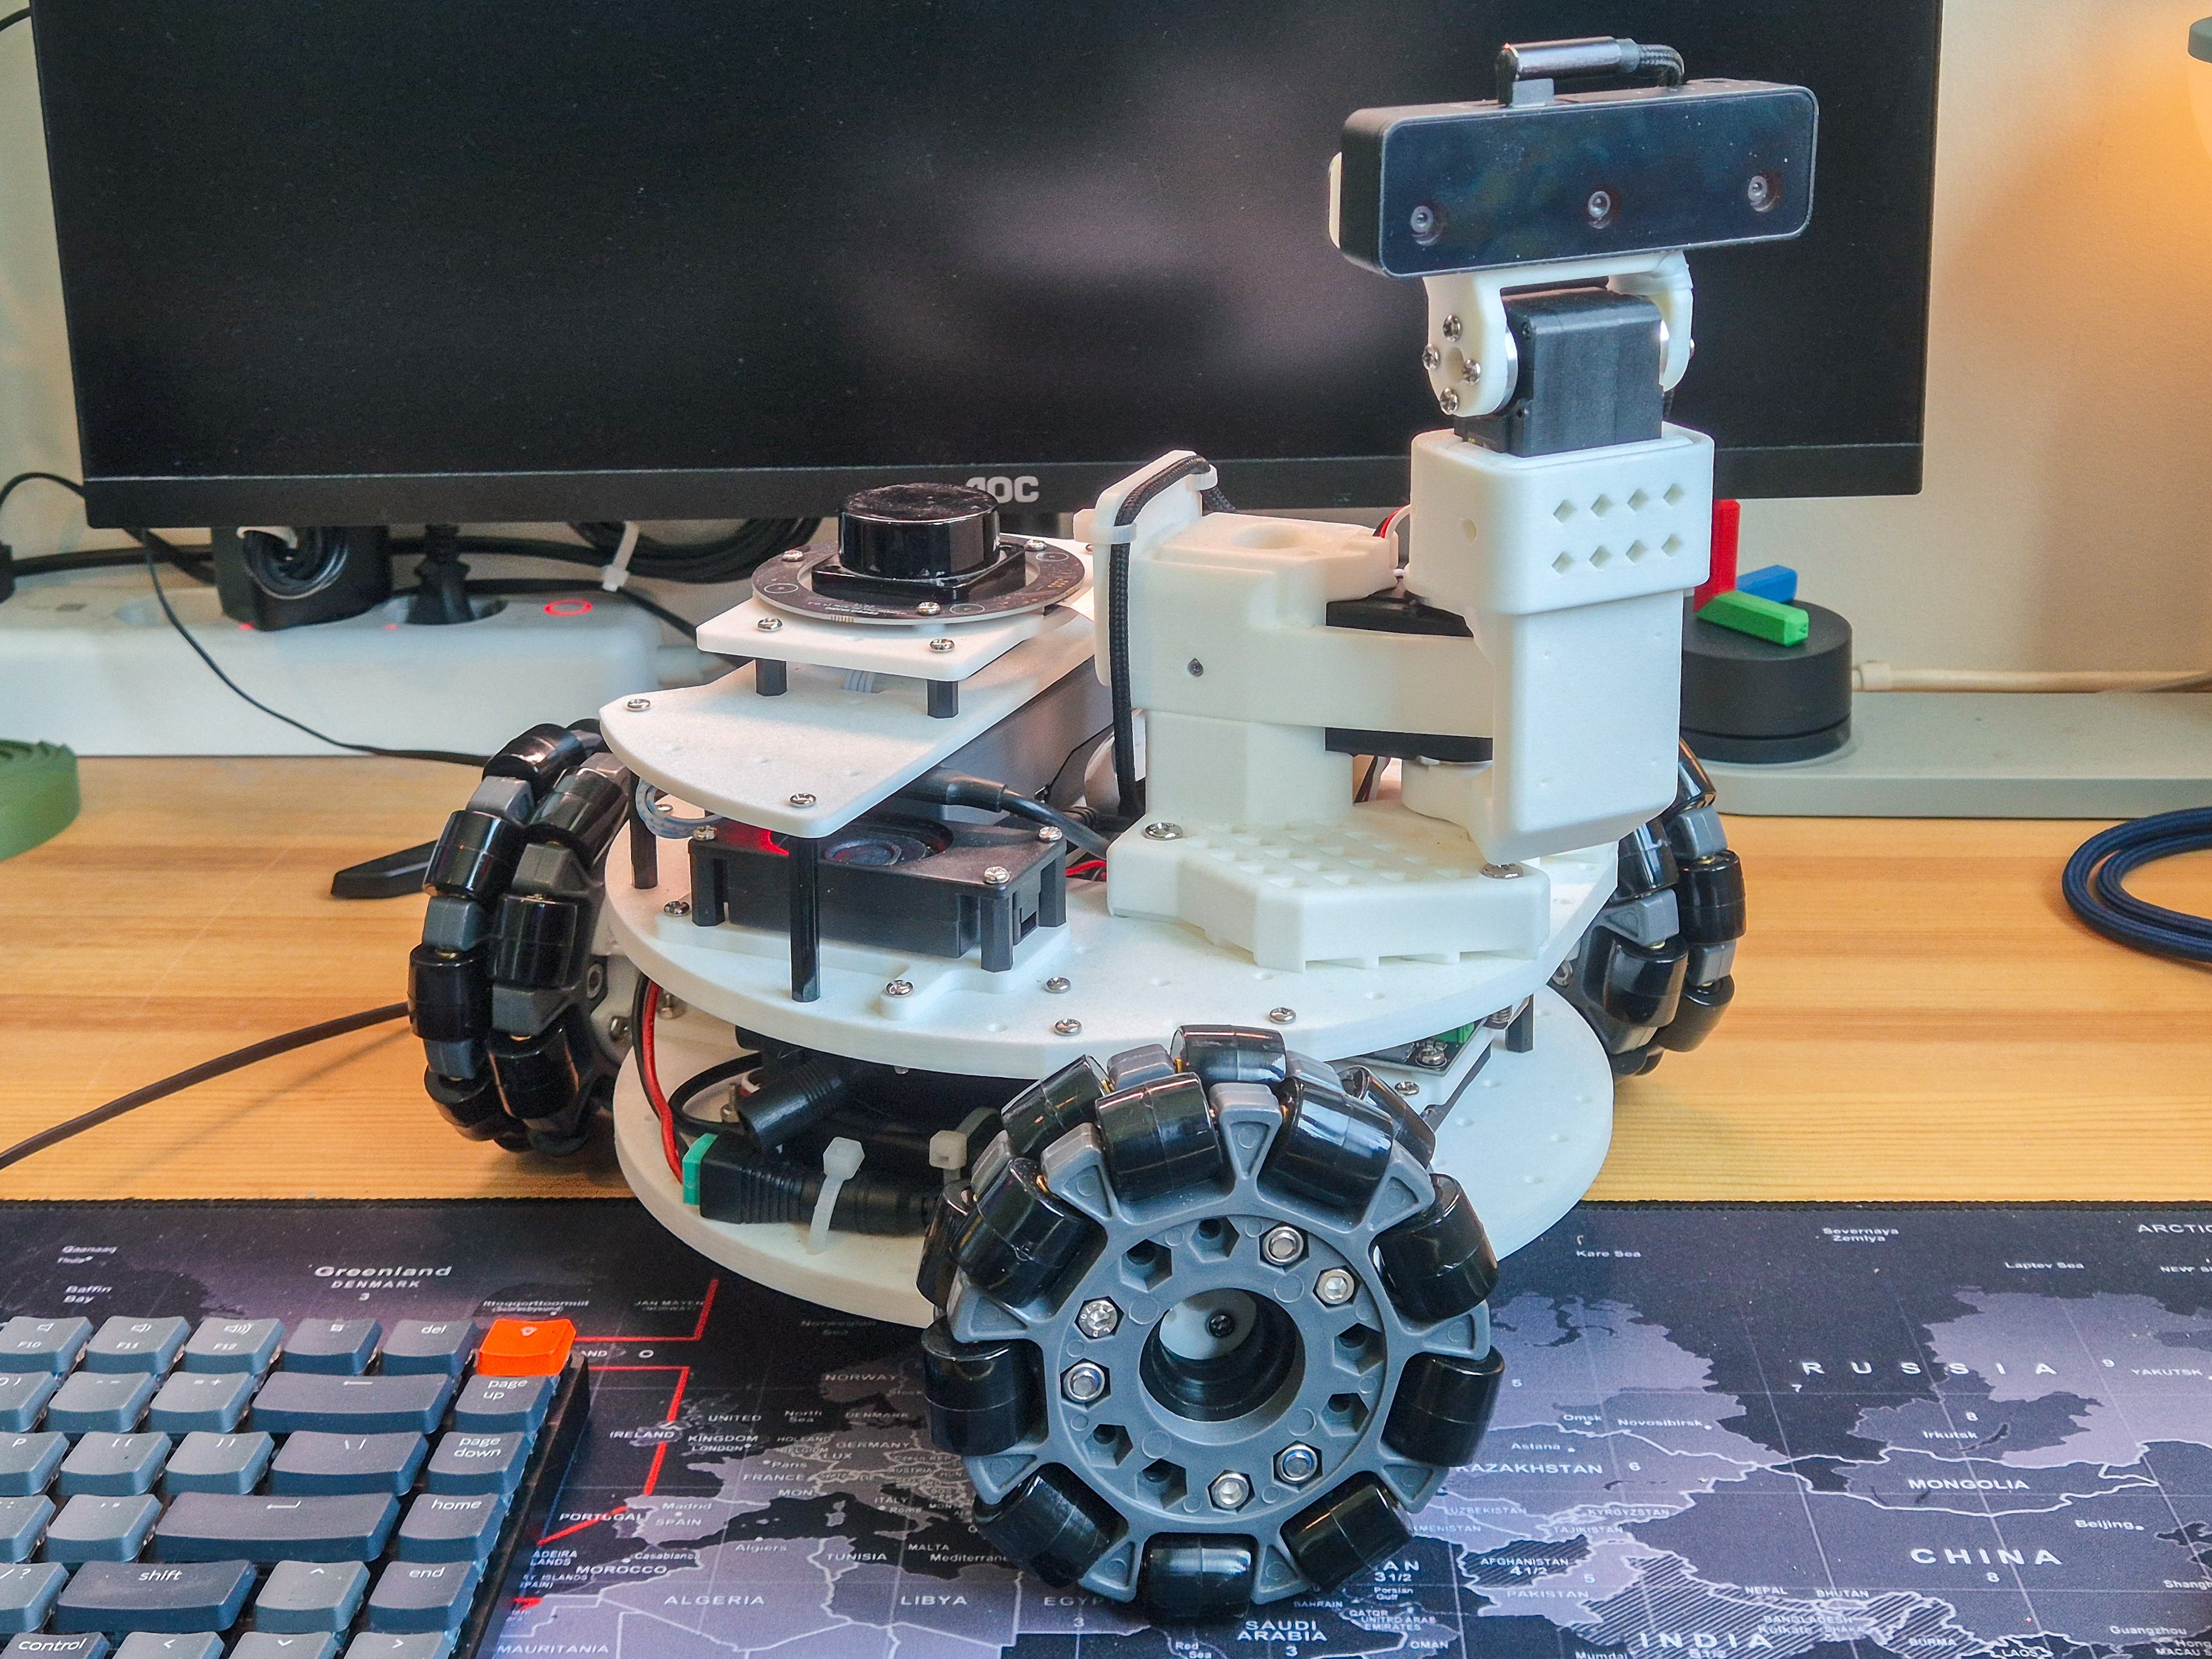
Easier said than done. The robot's base is already packed - three motors, a battery, the servo control board, a voltage regulator, and a webcam - and the top deck has the Pi, the LiDAR, the IMU, and the pan-tilt mechanism with an OAK-D S2 depth camera attached. Most of the mic-and-speaker combos on the market are single boards shaped like smart-speaker pucks, built to sit on their own rather than be tucked into the gaps of an already-full chassis. I looked at a handful of options, and none of them solved this problem.
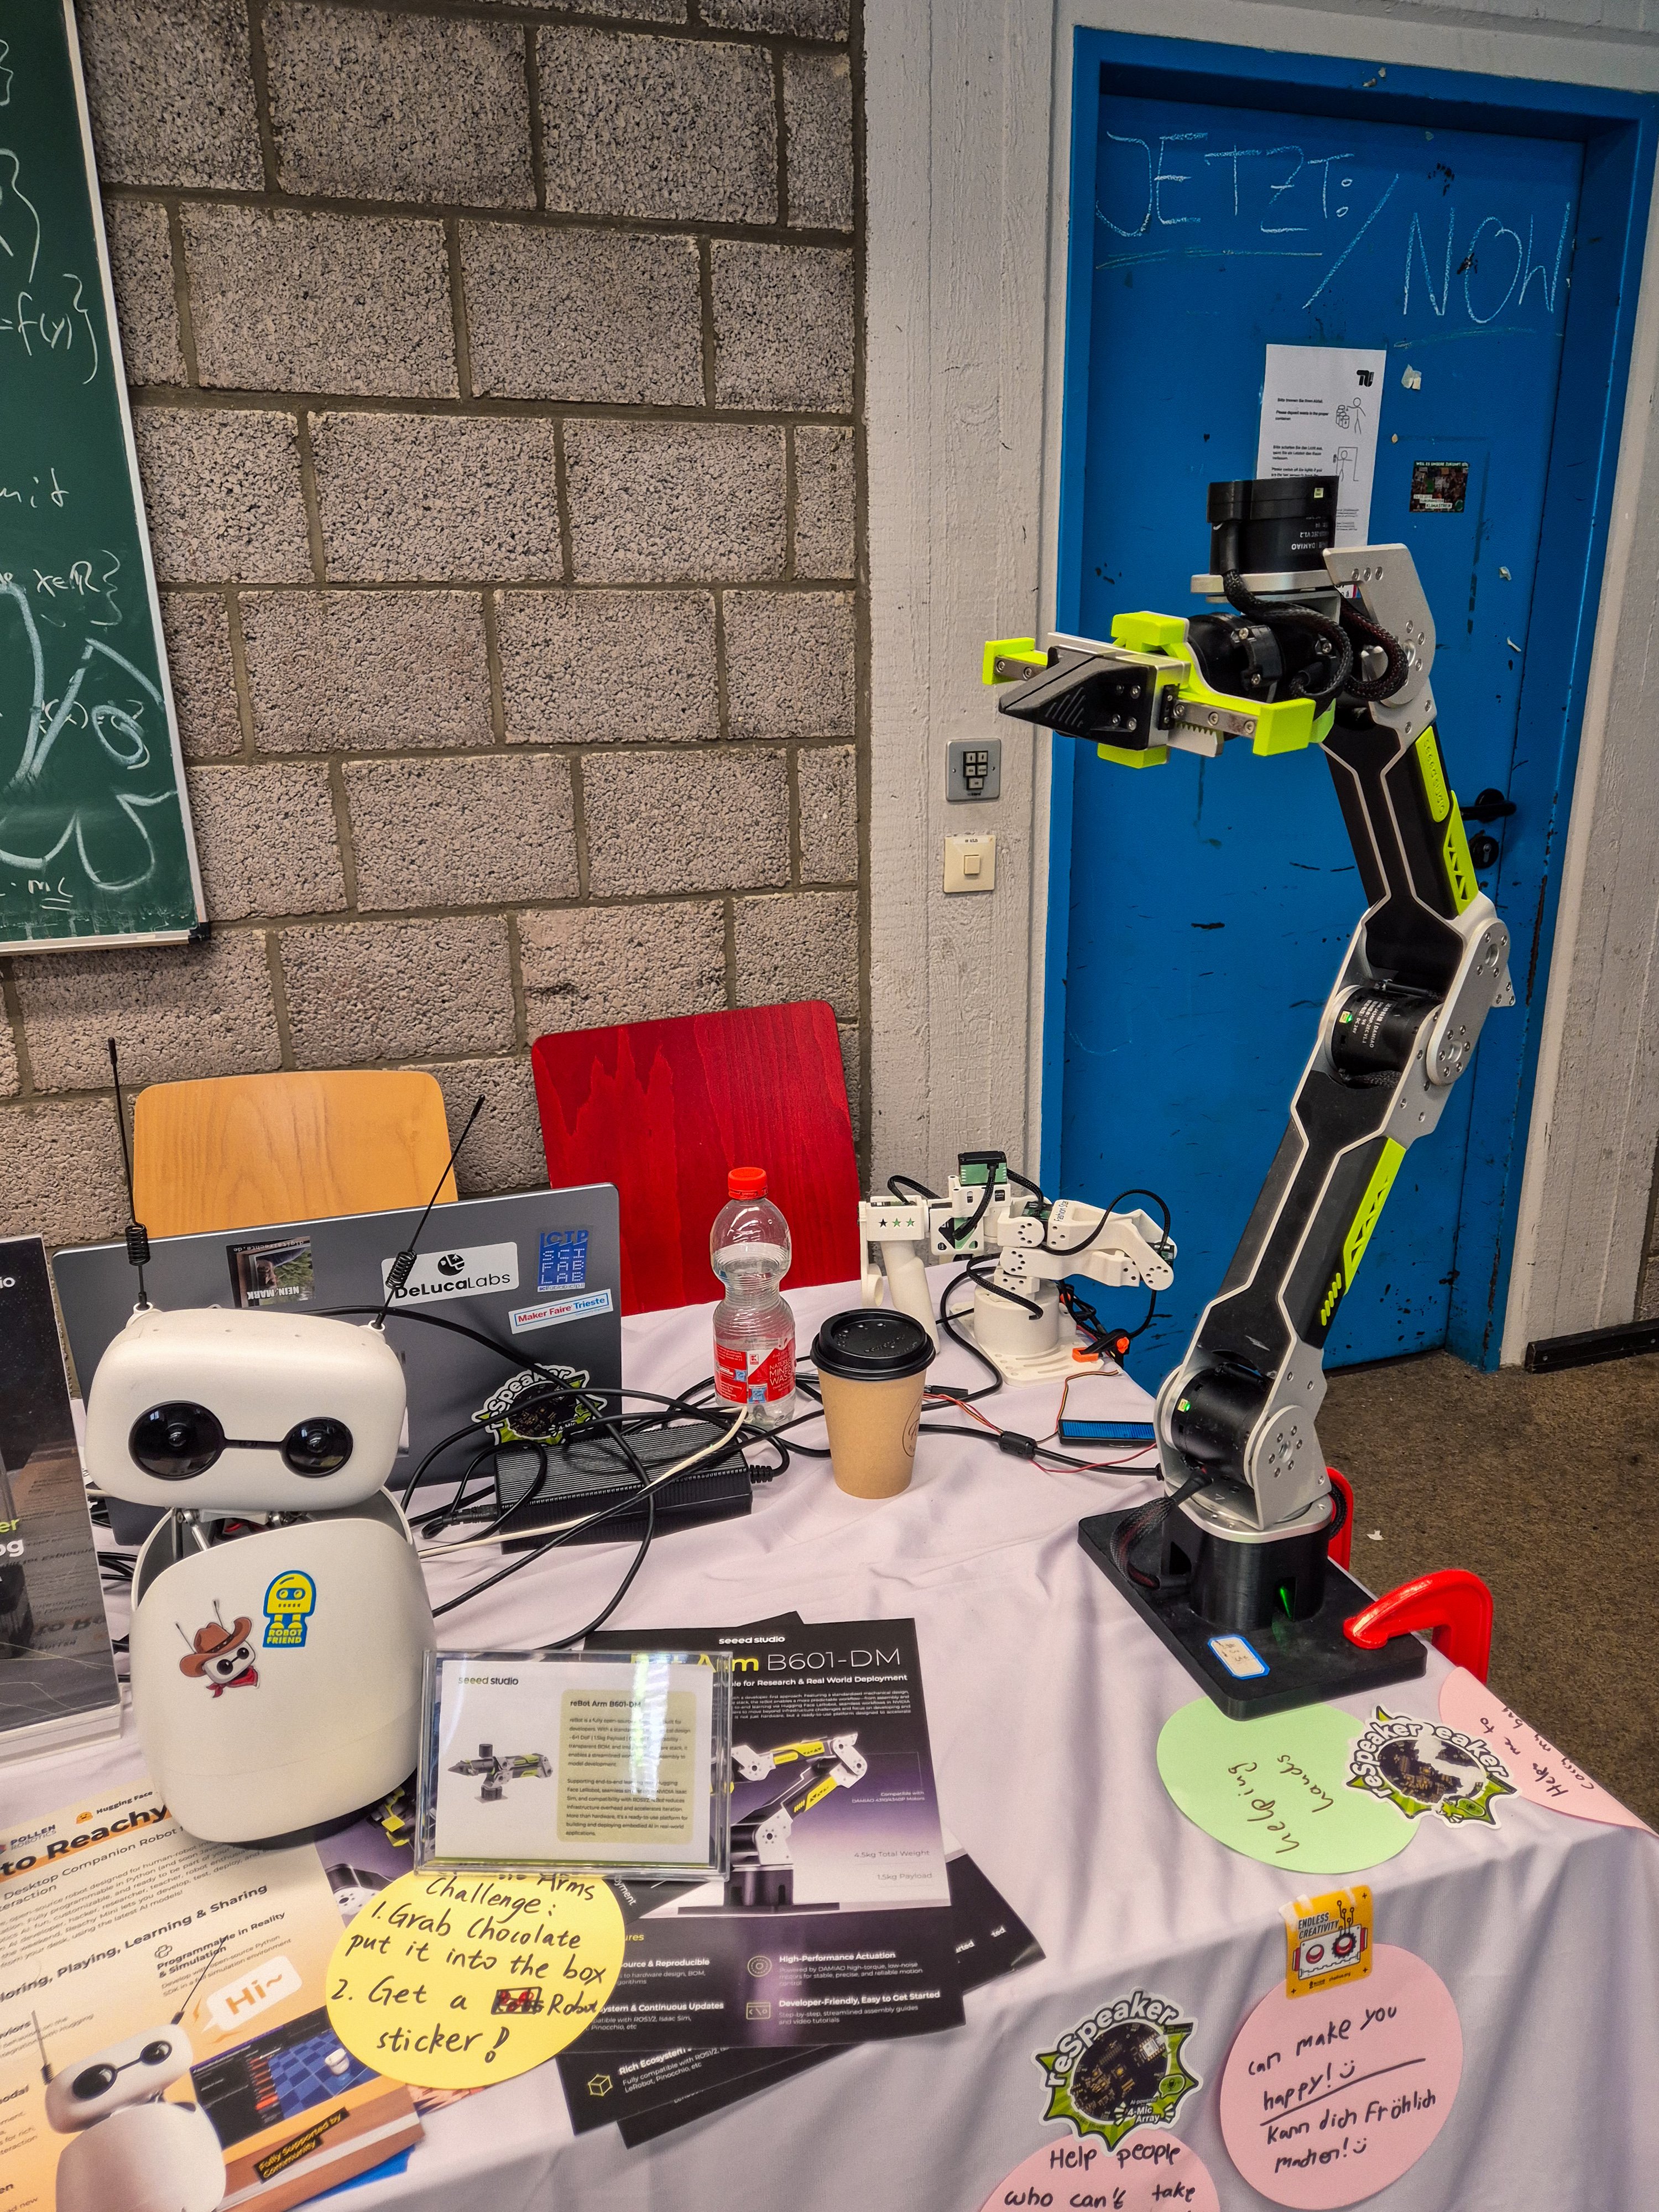
It took a trip to Berlin to find one that met my requirements. At the Open Hardware Summit 2026, I spent some time at Seeed Studio's booth and came across their new reSpeaker Flex lineup. Out of everything I'd looked at, this was the first solution that was actually compact enough to fit onto the LeKiwi. Just to be clear, this is only one of Seeed's reSpeaker lineup; they also make the smart-speaker pucks I was talking about earlier.
This post covers the capabilities of the reSpeaker Flex, how I mounted it on LeKiwi, and a demo script that tests the microphone features.
Meet the reSpeaker Flex (XVF3800)
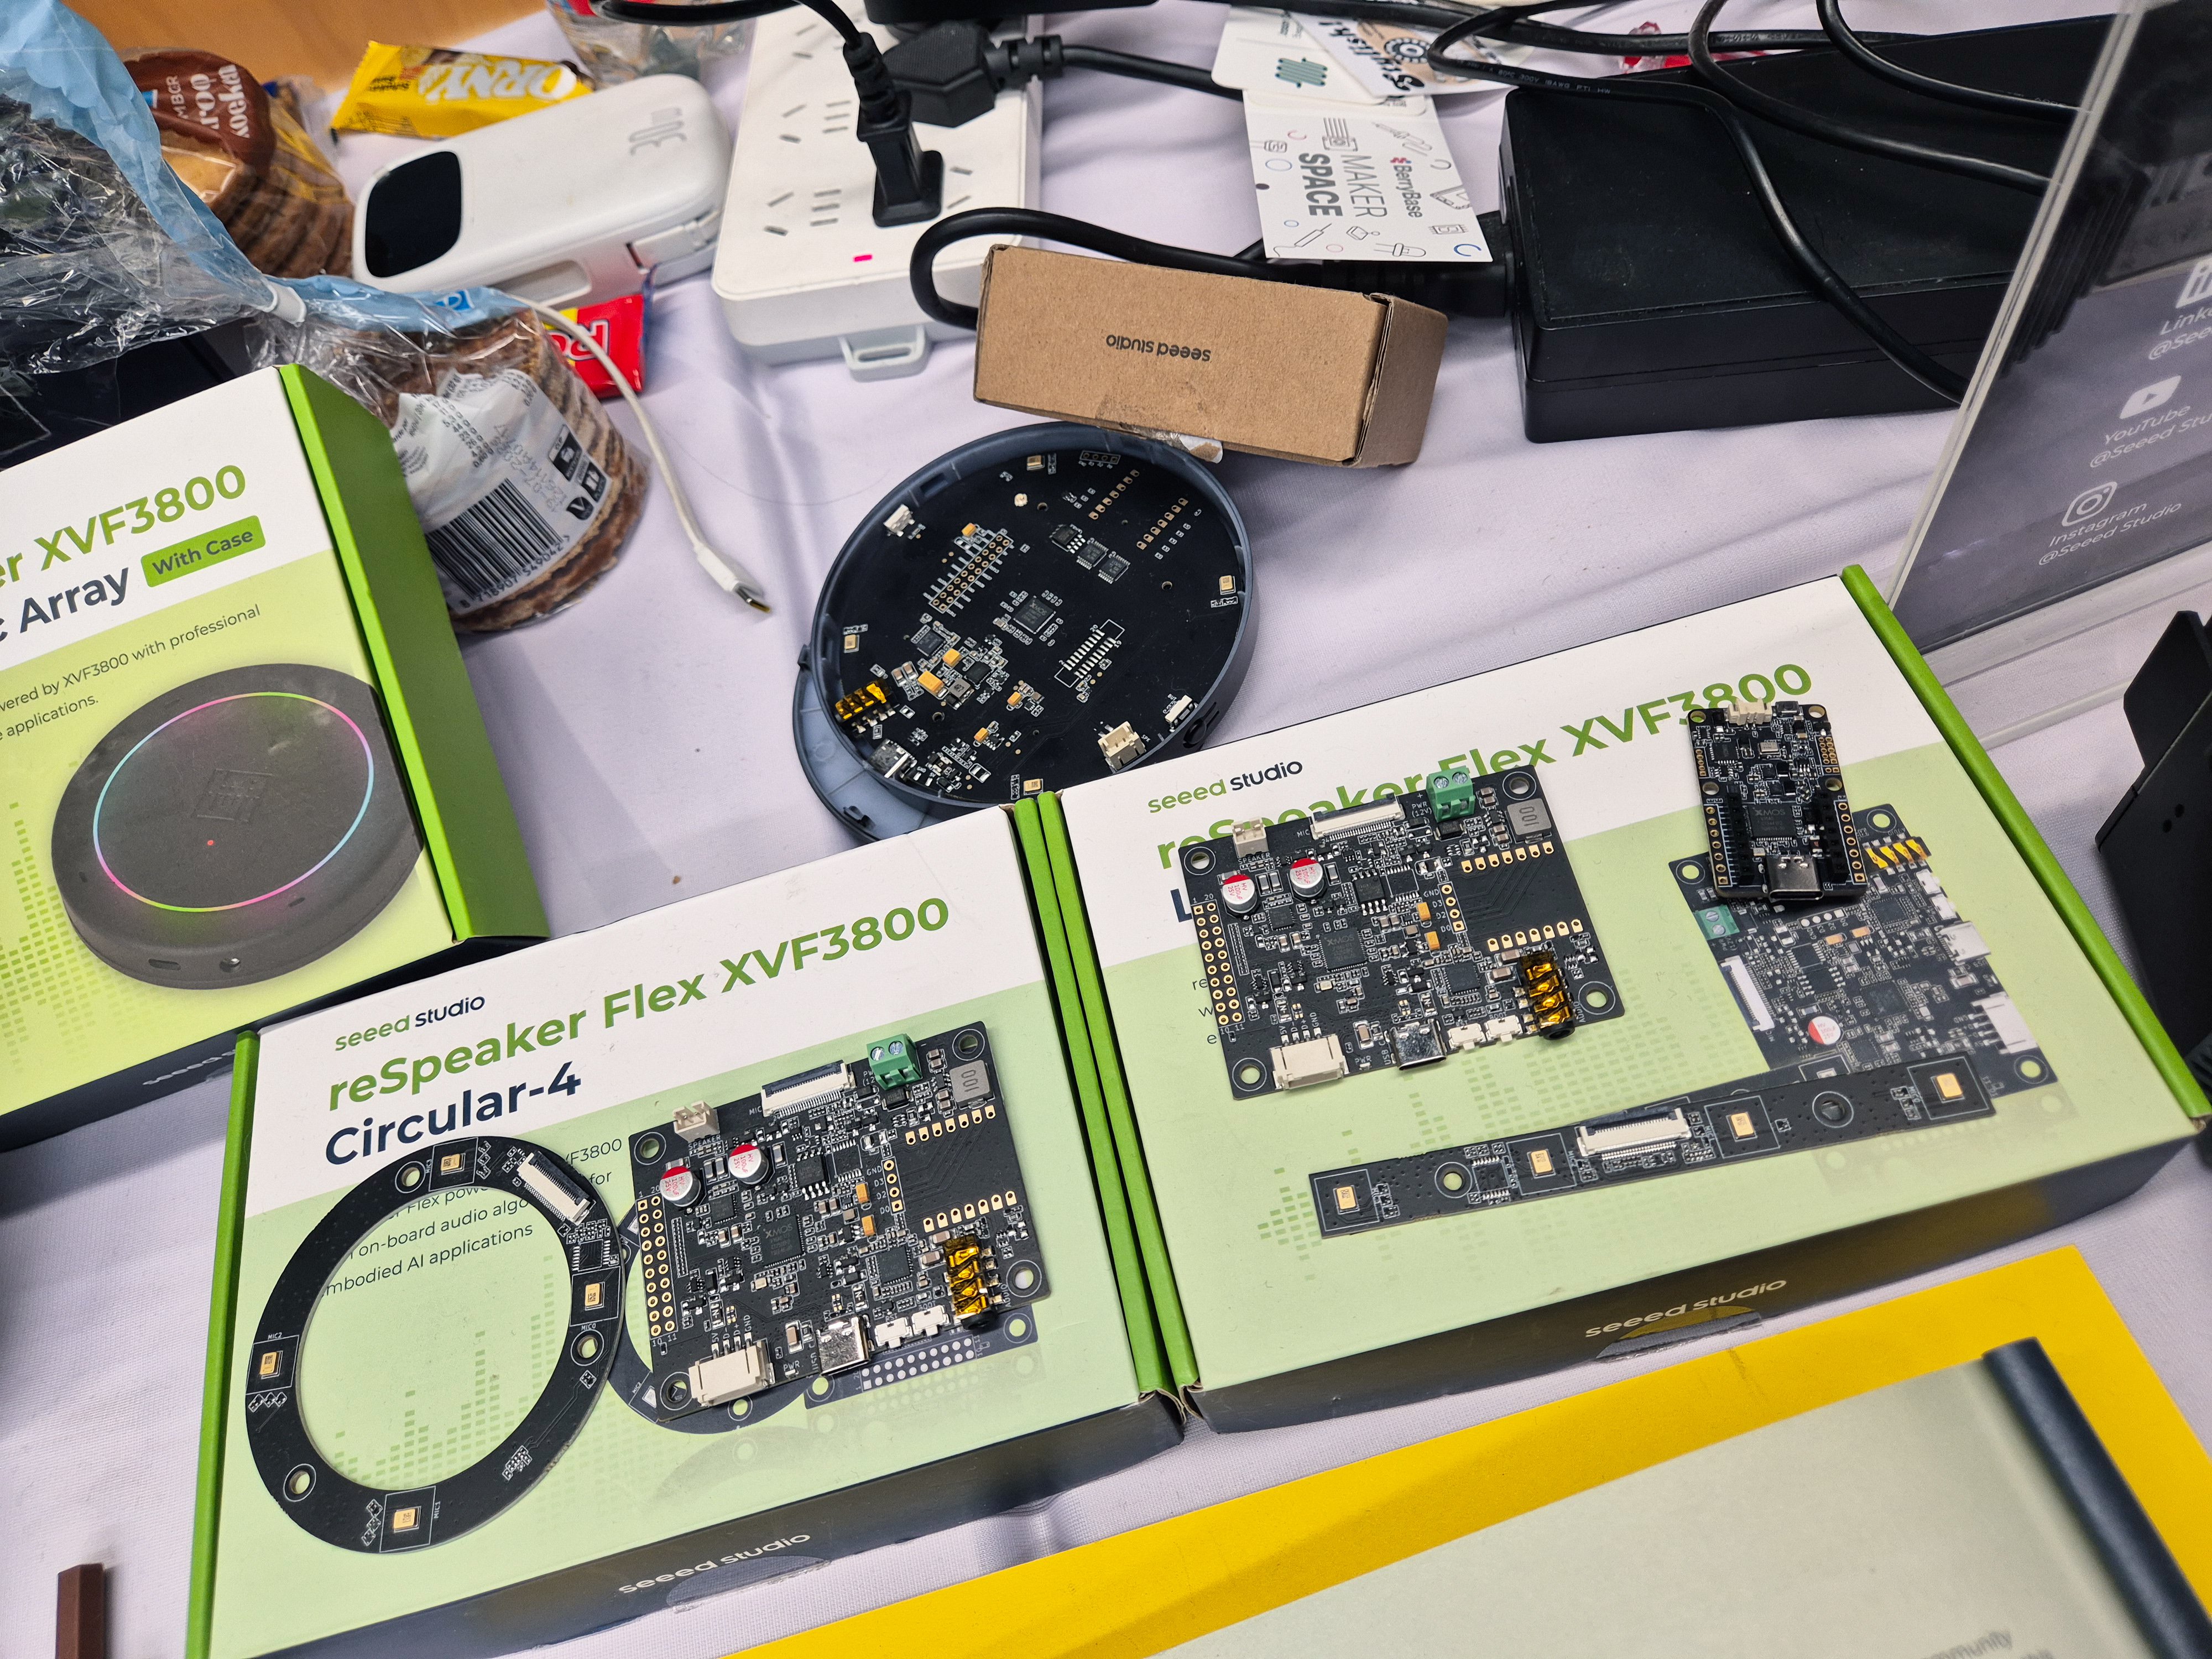
The reSpeaker Flex is Seeed's mic array system built around the XMOS XVF3800 DSP, sold as two separate boards - a mic array board, and a control board carrying the DSP, USB-C, and the speaker output, connected by an FPC cable. That split is exactly what allowed me to mount it on the LeKiwi: the mic array can sit wherever it needs a clear view, and the control board can go wherever there's room, instead of needing one spot for both.
The mic array board comes in two variants. The Circular-4 arranges its four microphones in a ring for 360° pickup. The Linear-4 instead puts the same four mics in a row for more directional capture. Both mic arrays pair with the same control board.
Chip | XMOS XVF3800 |
Microphones | 4-mic array, 44mm spacing (Circular-4) / 33mm (Linear-4) |
Interface | USB Audio Class 2.0 + USB control |
On-chip DSP | Acoustic Echo Cancellation (AEC), Automatic Gain Control (AGC), beamforming, noise suppression, de-reverberation, Direction of Arrival (DoA), Voice Activity Detection (VAD) |
Expansion | XIAO expansion footprint on the control board |
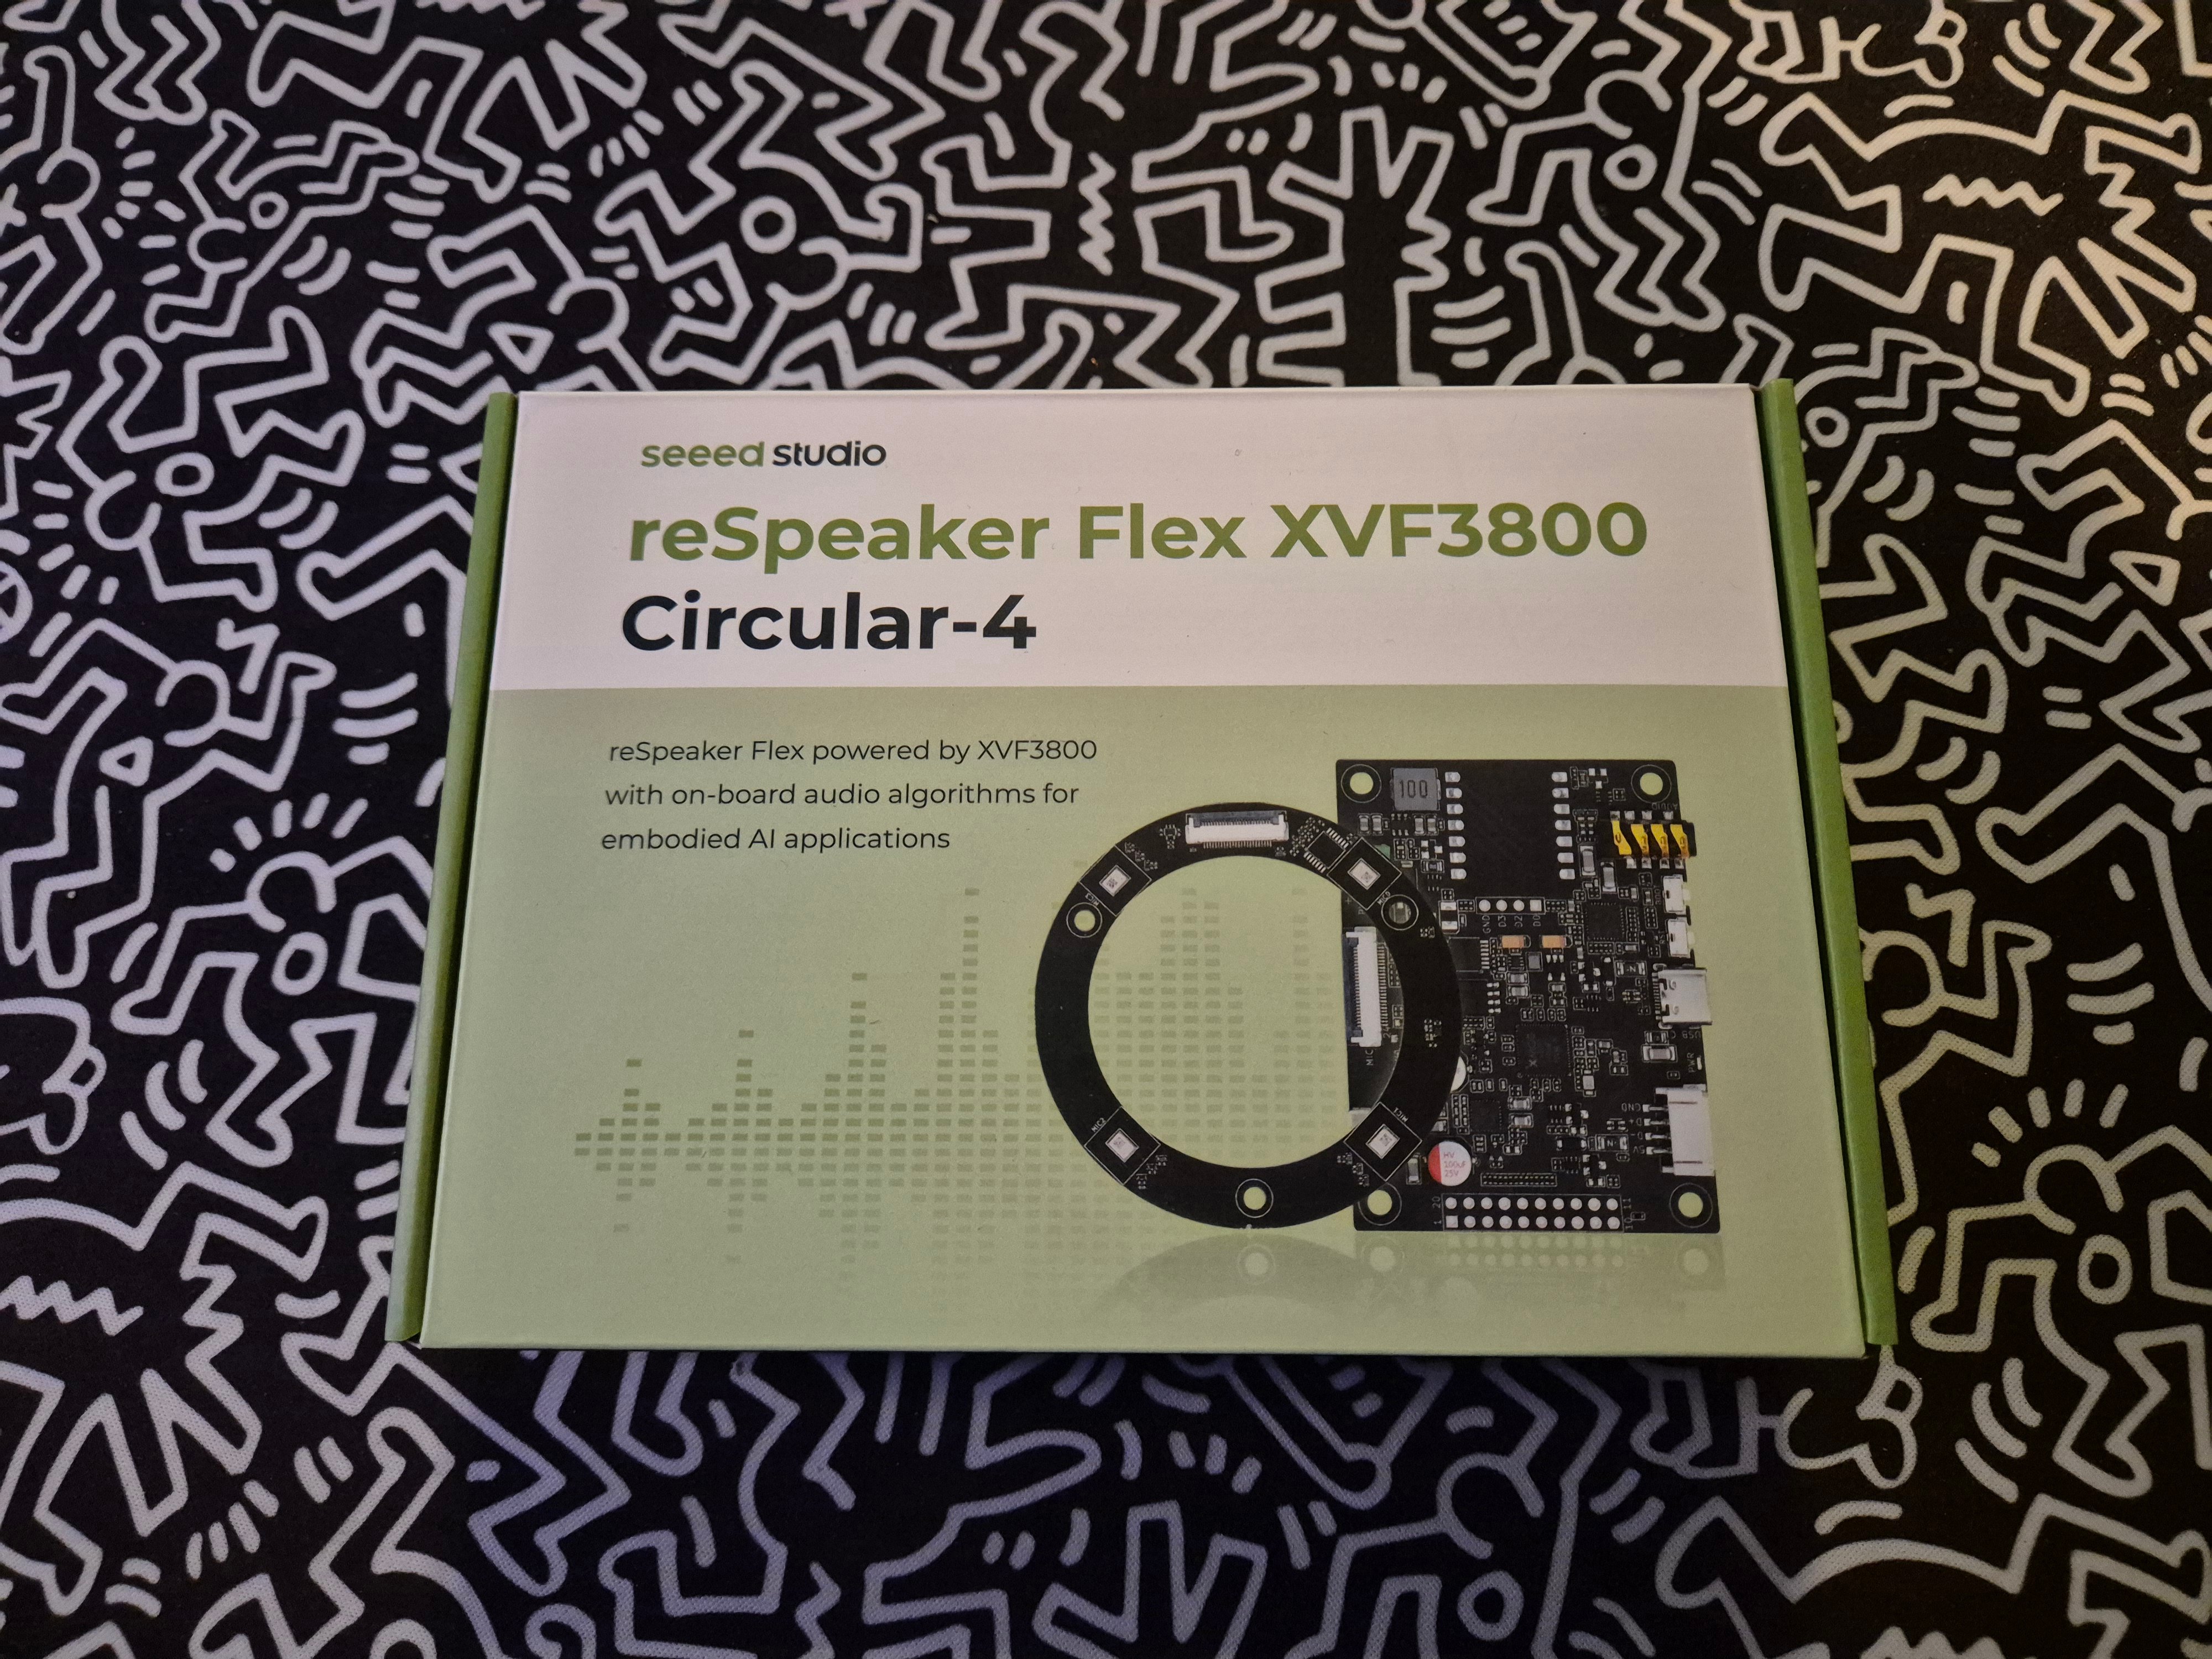
For LeKiwi, the Circular-4 was the obvious pick - a robot gets approached from any direction, so 360° pickup matters more than aiming at one side of a room. And since the Raspberry Pi already runs the rest of the stack, I skipped the XIAO option and wired the control board's USB-C straight into the Pi.
Mounting on LeKiwi
With Circular-4 picked, the next question was where on LeKiwi each board would actually go.
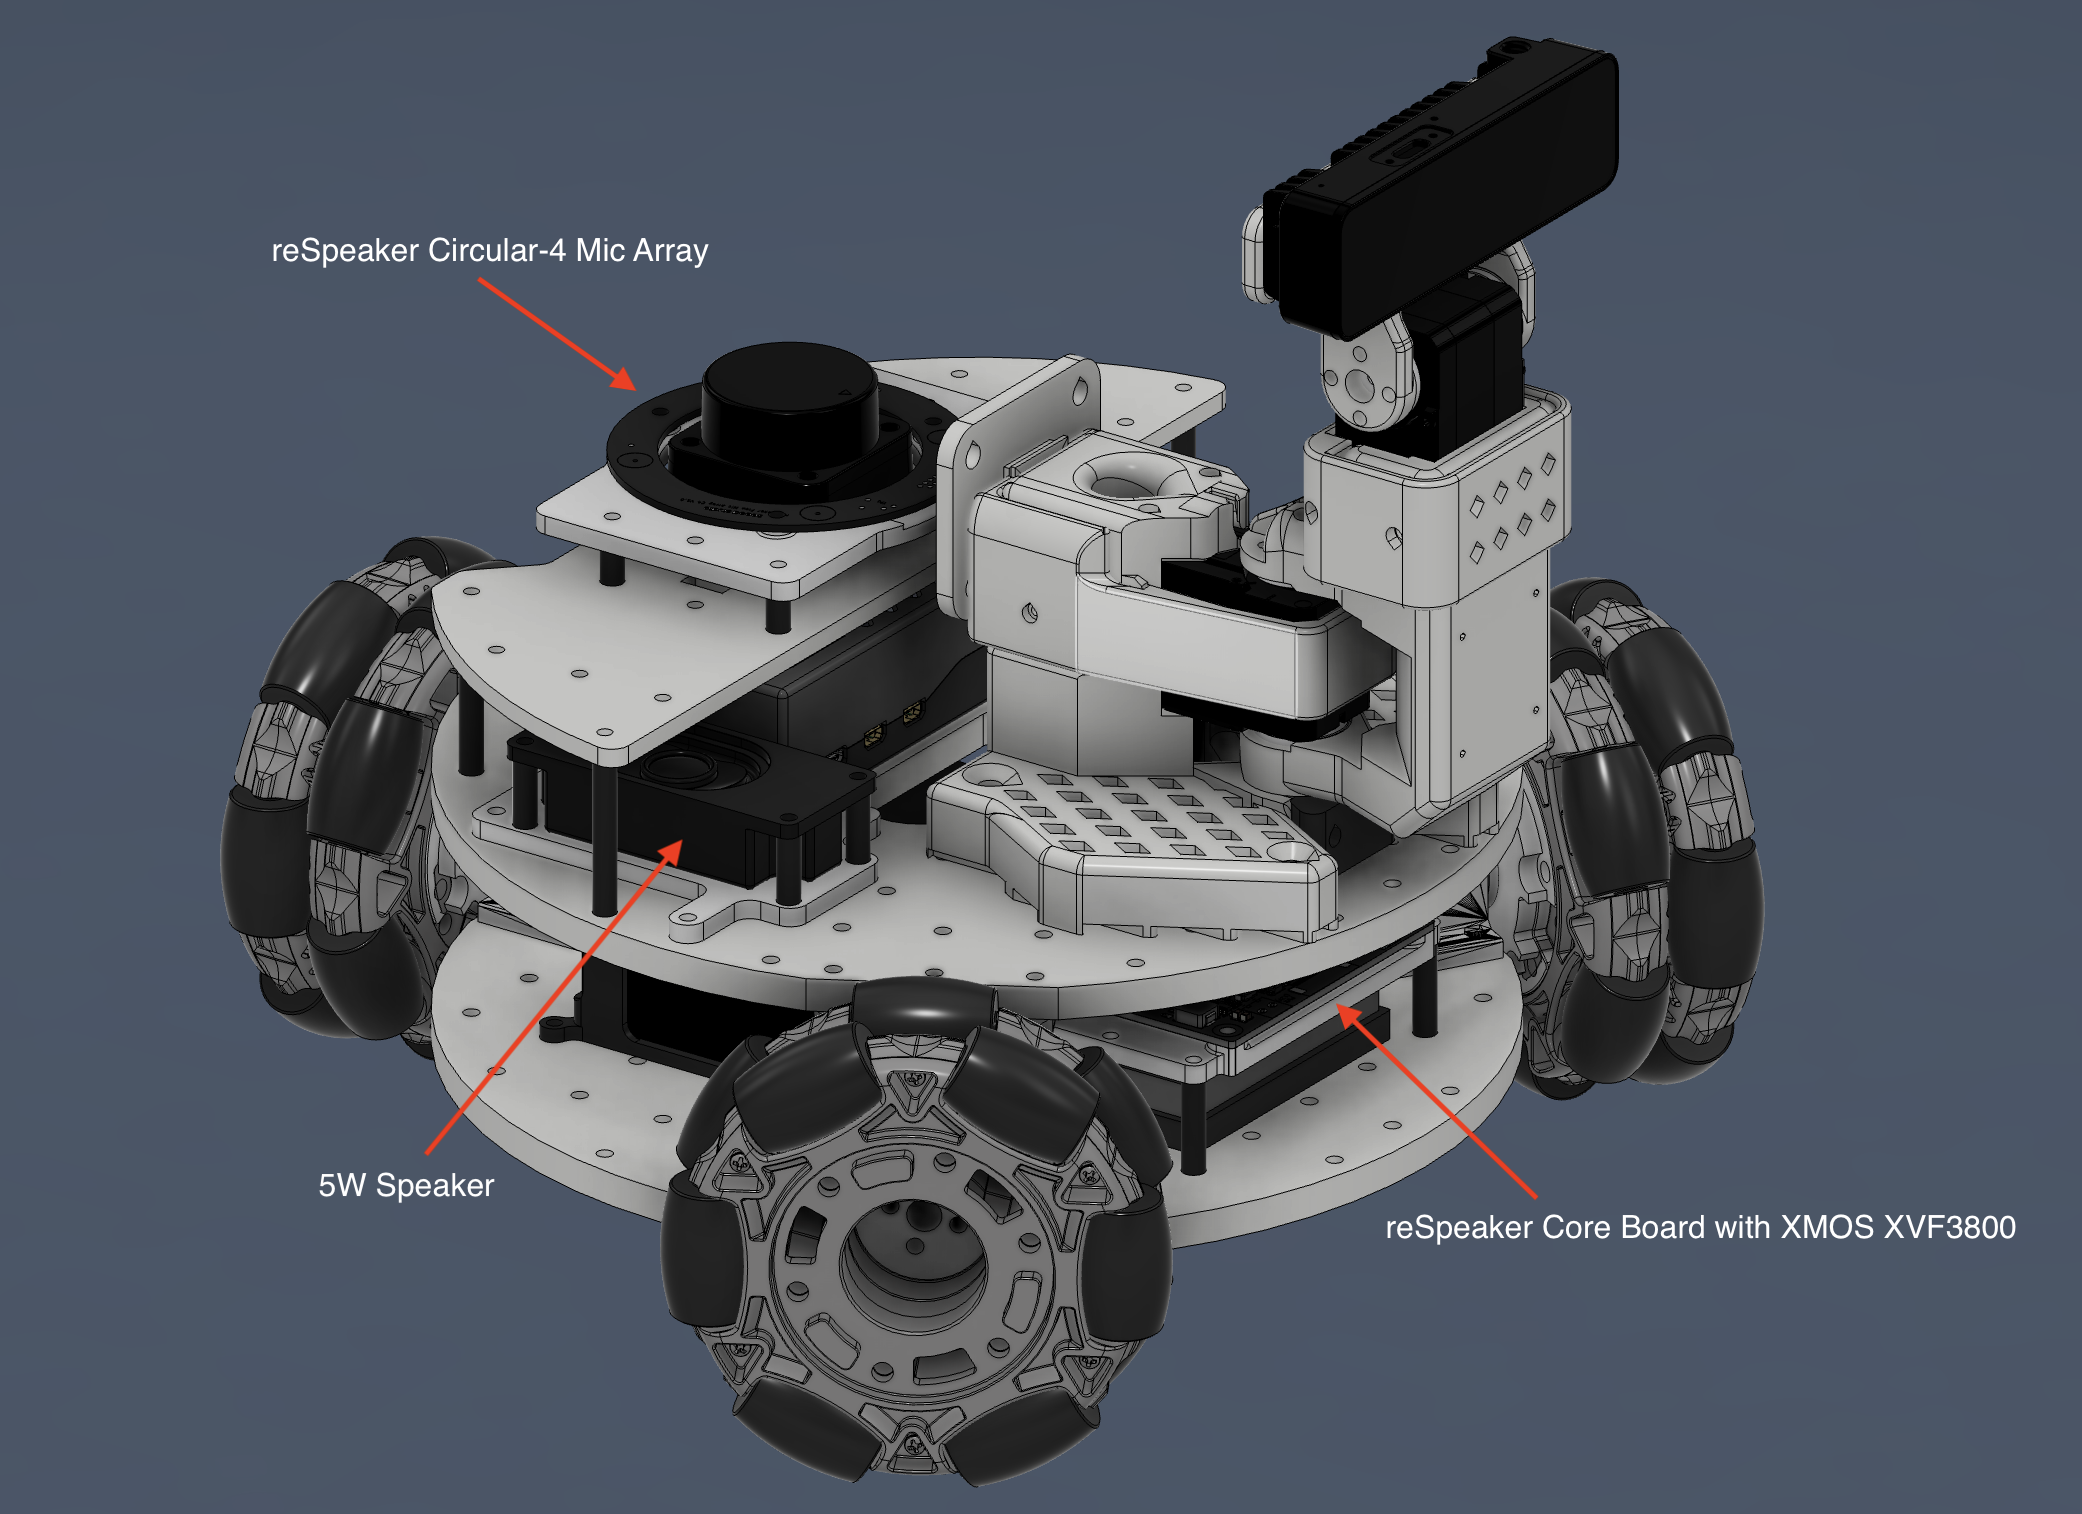
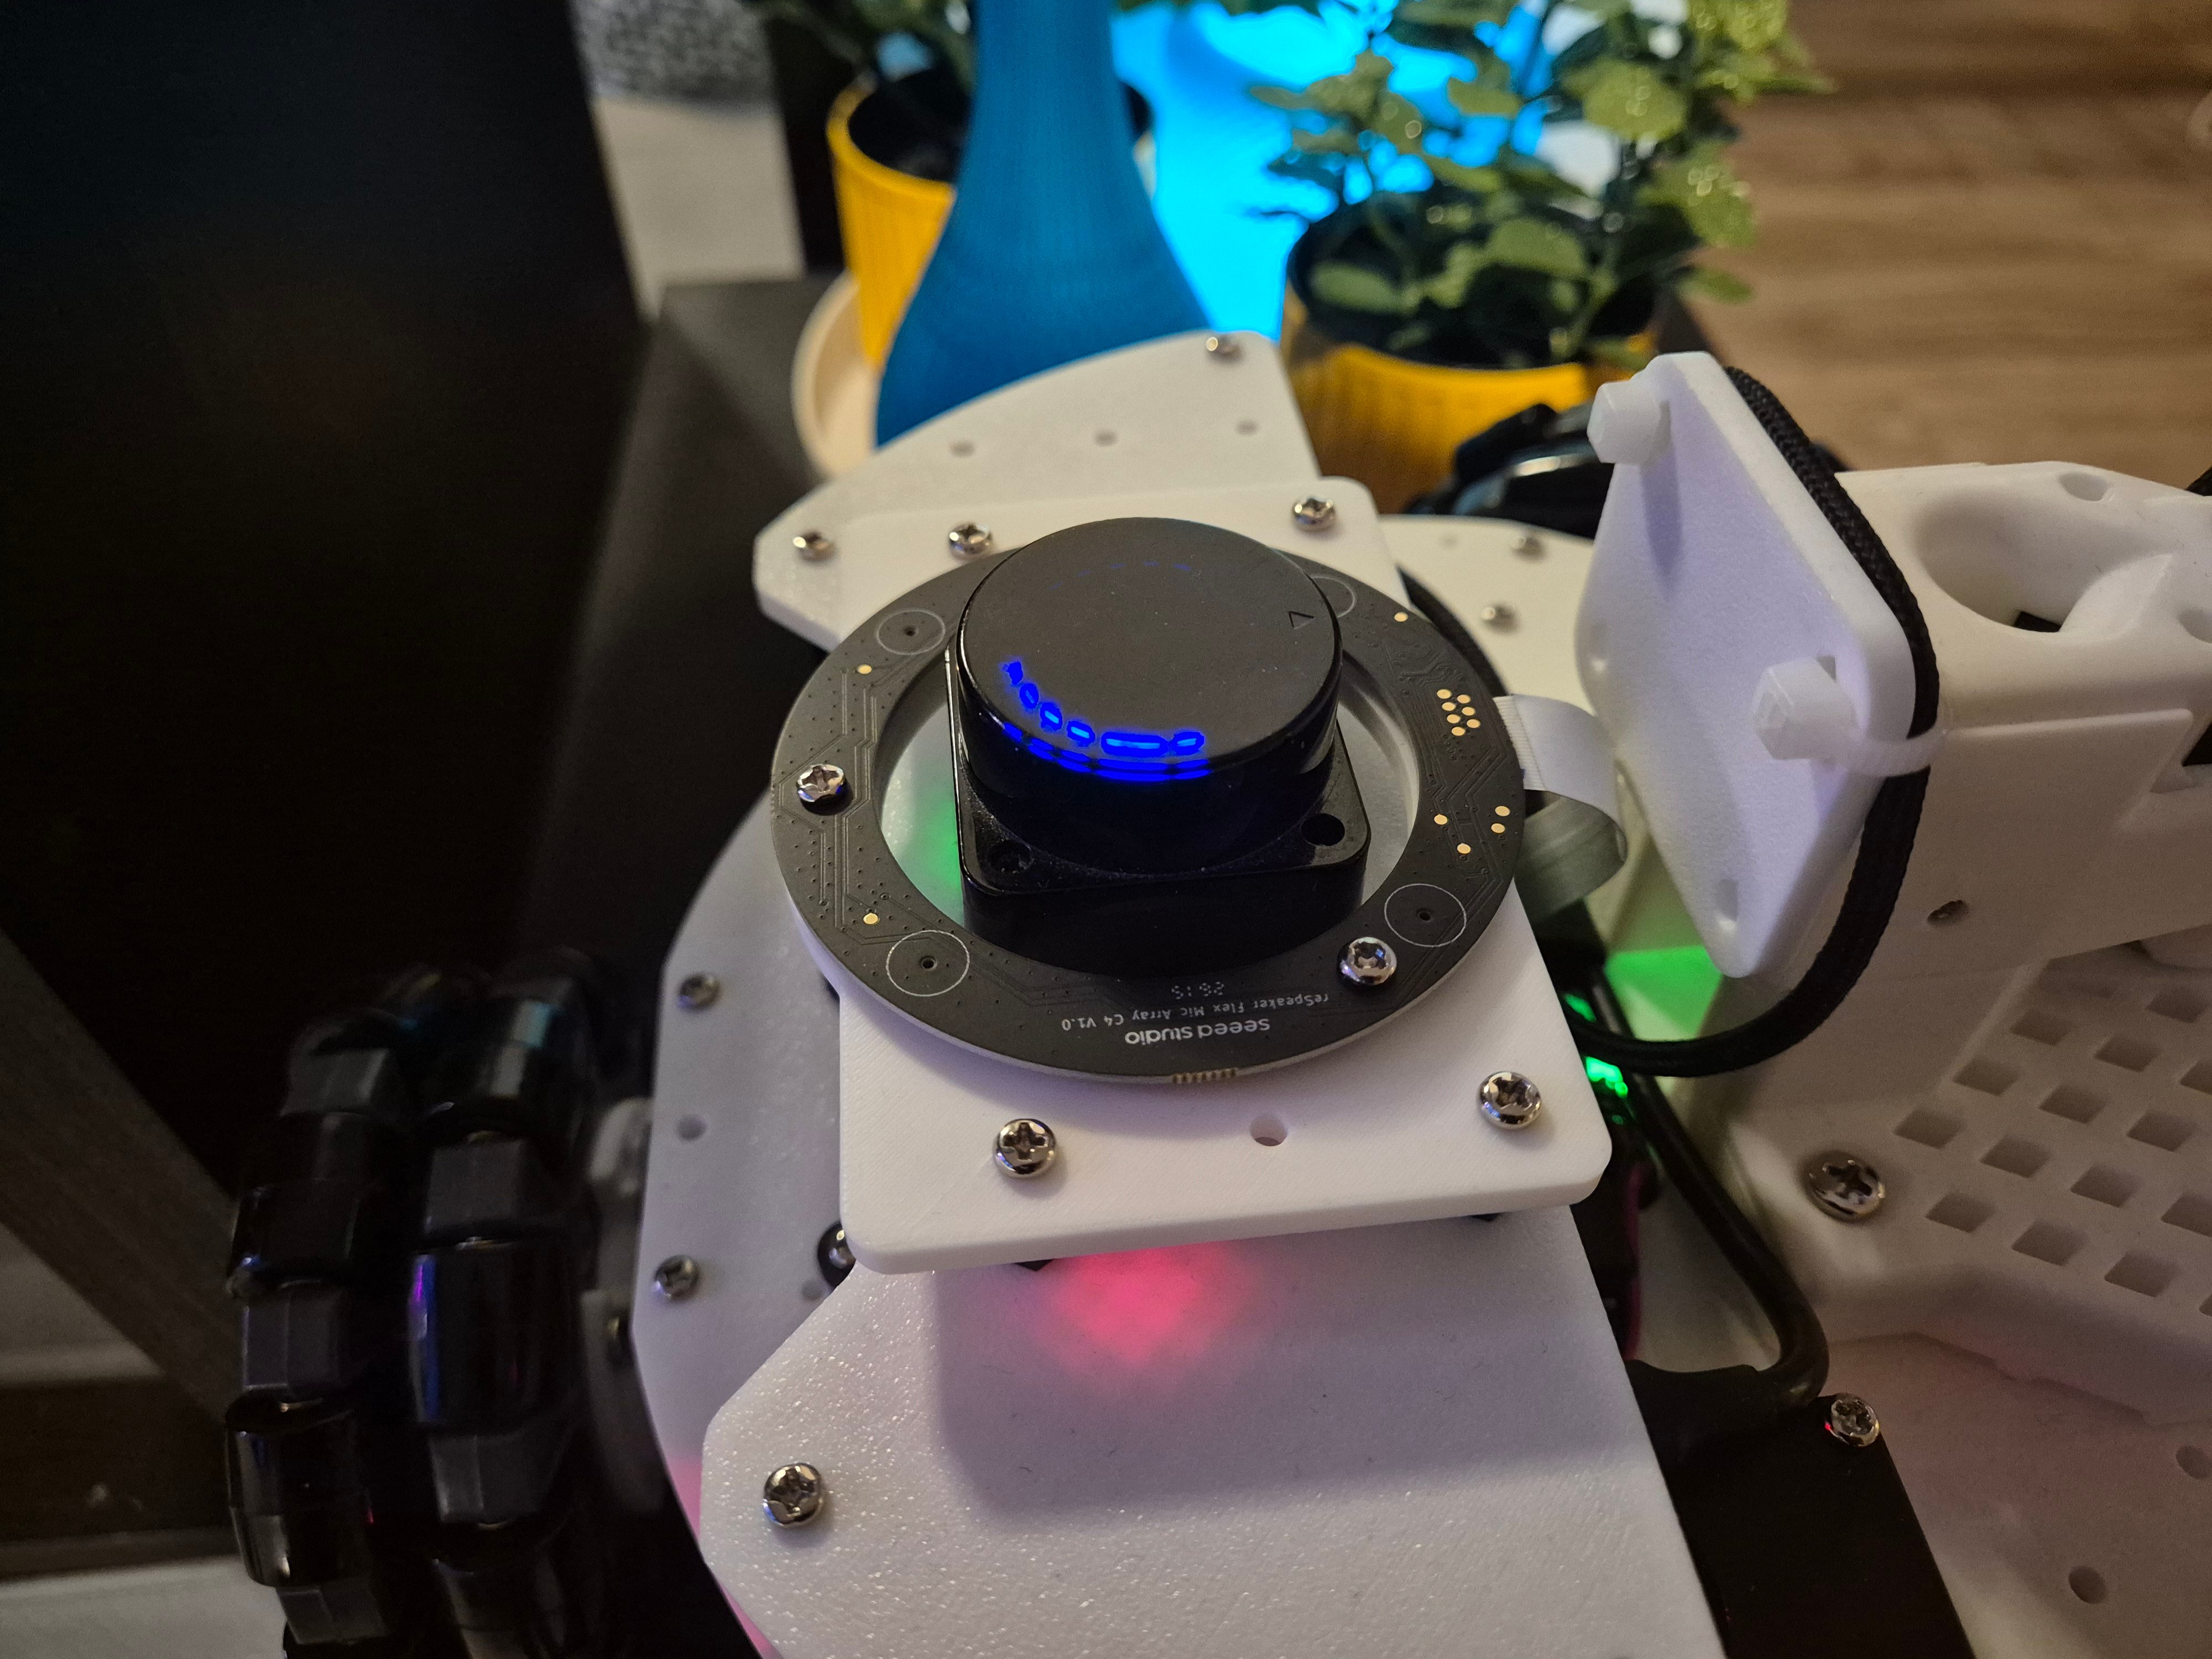
The mic array board is a ring, and it turns out that the ring fits perfectly around LeKiwi's LD19 LiDAR. That puts the microphones up high, away from the wheels and motors, with a (nearly) clear 360° view for picking up voices from any direction.
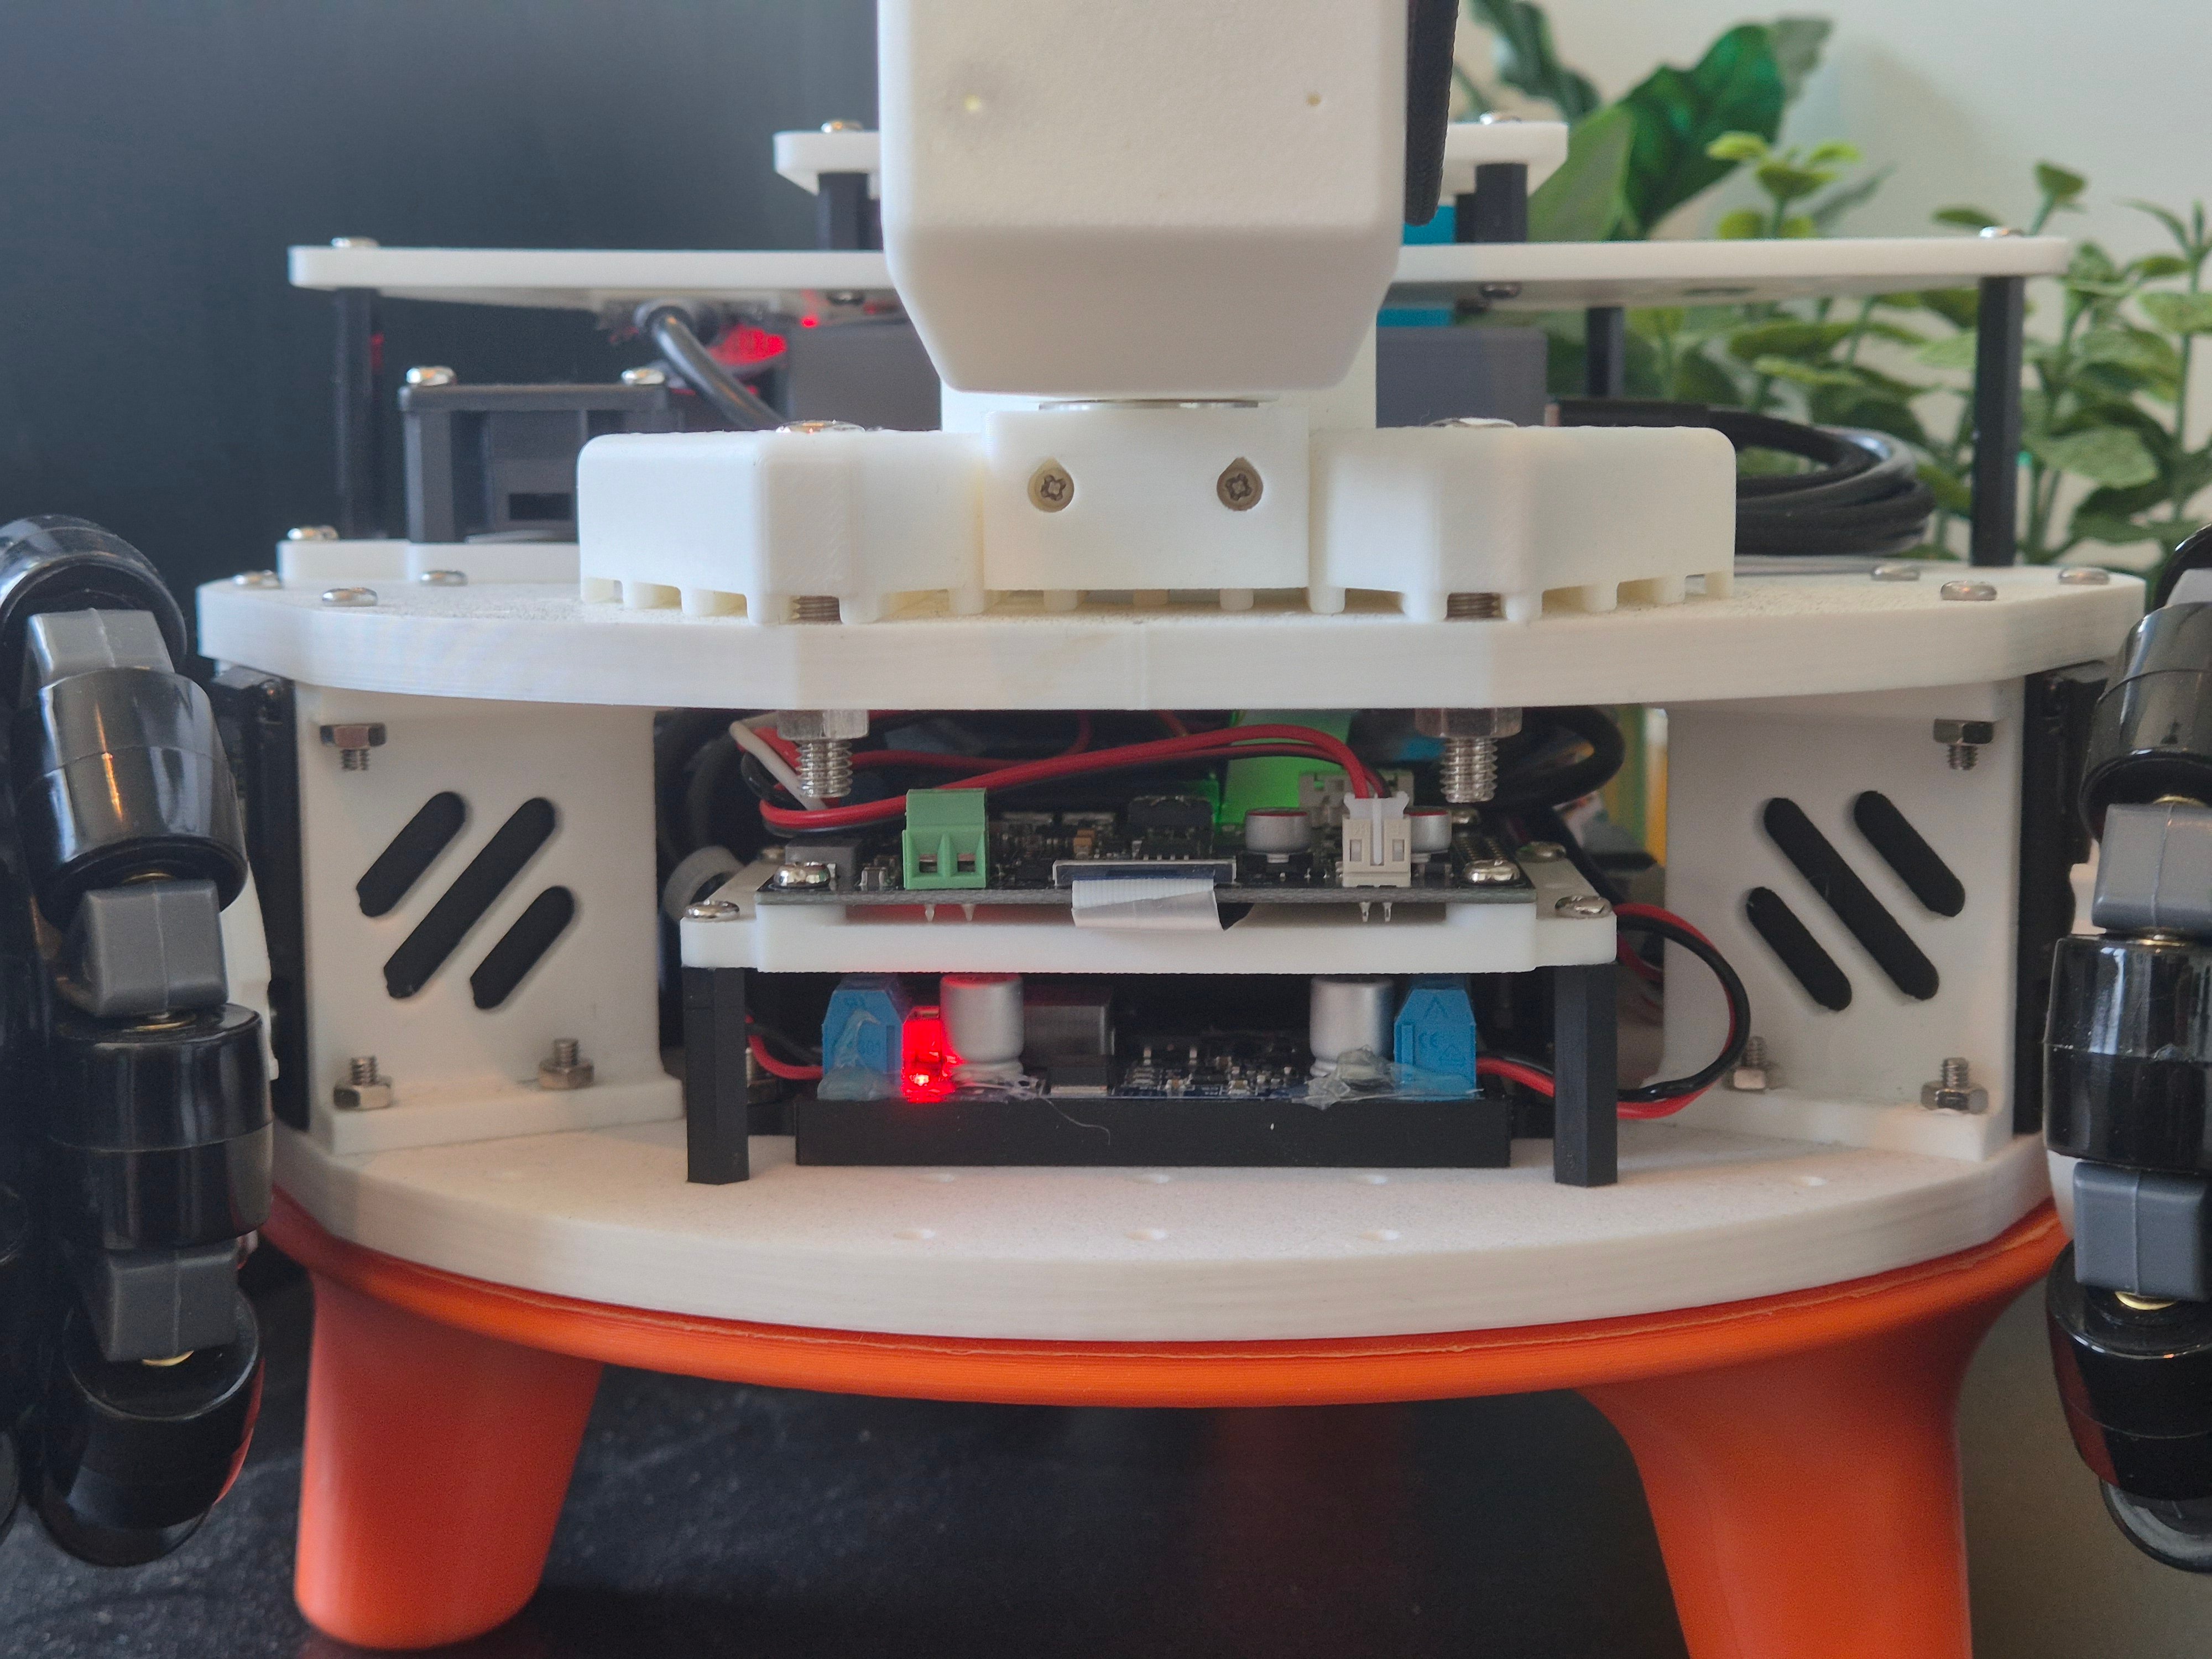
The control board went the other way - tucked between the base plates, alongside the Pi and the rest of the electronics, just behind where a webcam used to sit. One cable runs from the control board up to the mic ring around the LiDAR, and a single USB cable connects the control board to the Pi. I decided to remove the webcam, which not only freed up space but also a USB port on the Pi. Since I already have an OAK-D S2 camera on the pan-tilt mechanism, the lower-quality webcam was redundant.
For the speaker, I just grabbed a small, off-the-shelf 5W 8Ω driver from Amazon, which plugged right into the control board's JST-PH connector. It's mounted on the top deck, right next to the mic array. That said, I haven't configured audio playback yet - the speaker is connected but silent for now, which means anything that requires simultaneous playback and capture (like AEC) couldn't be tested in this round.
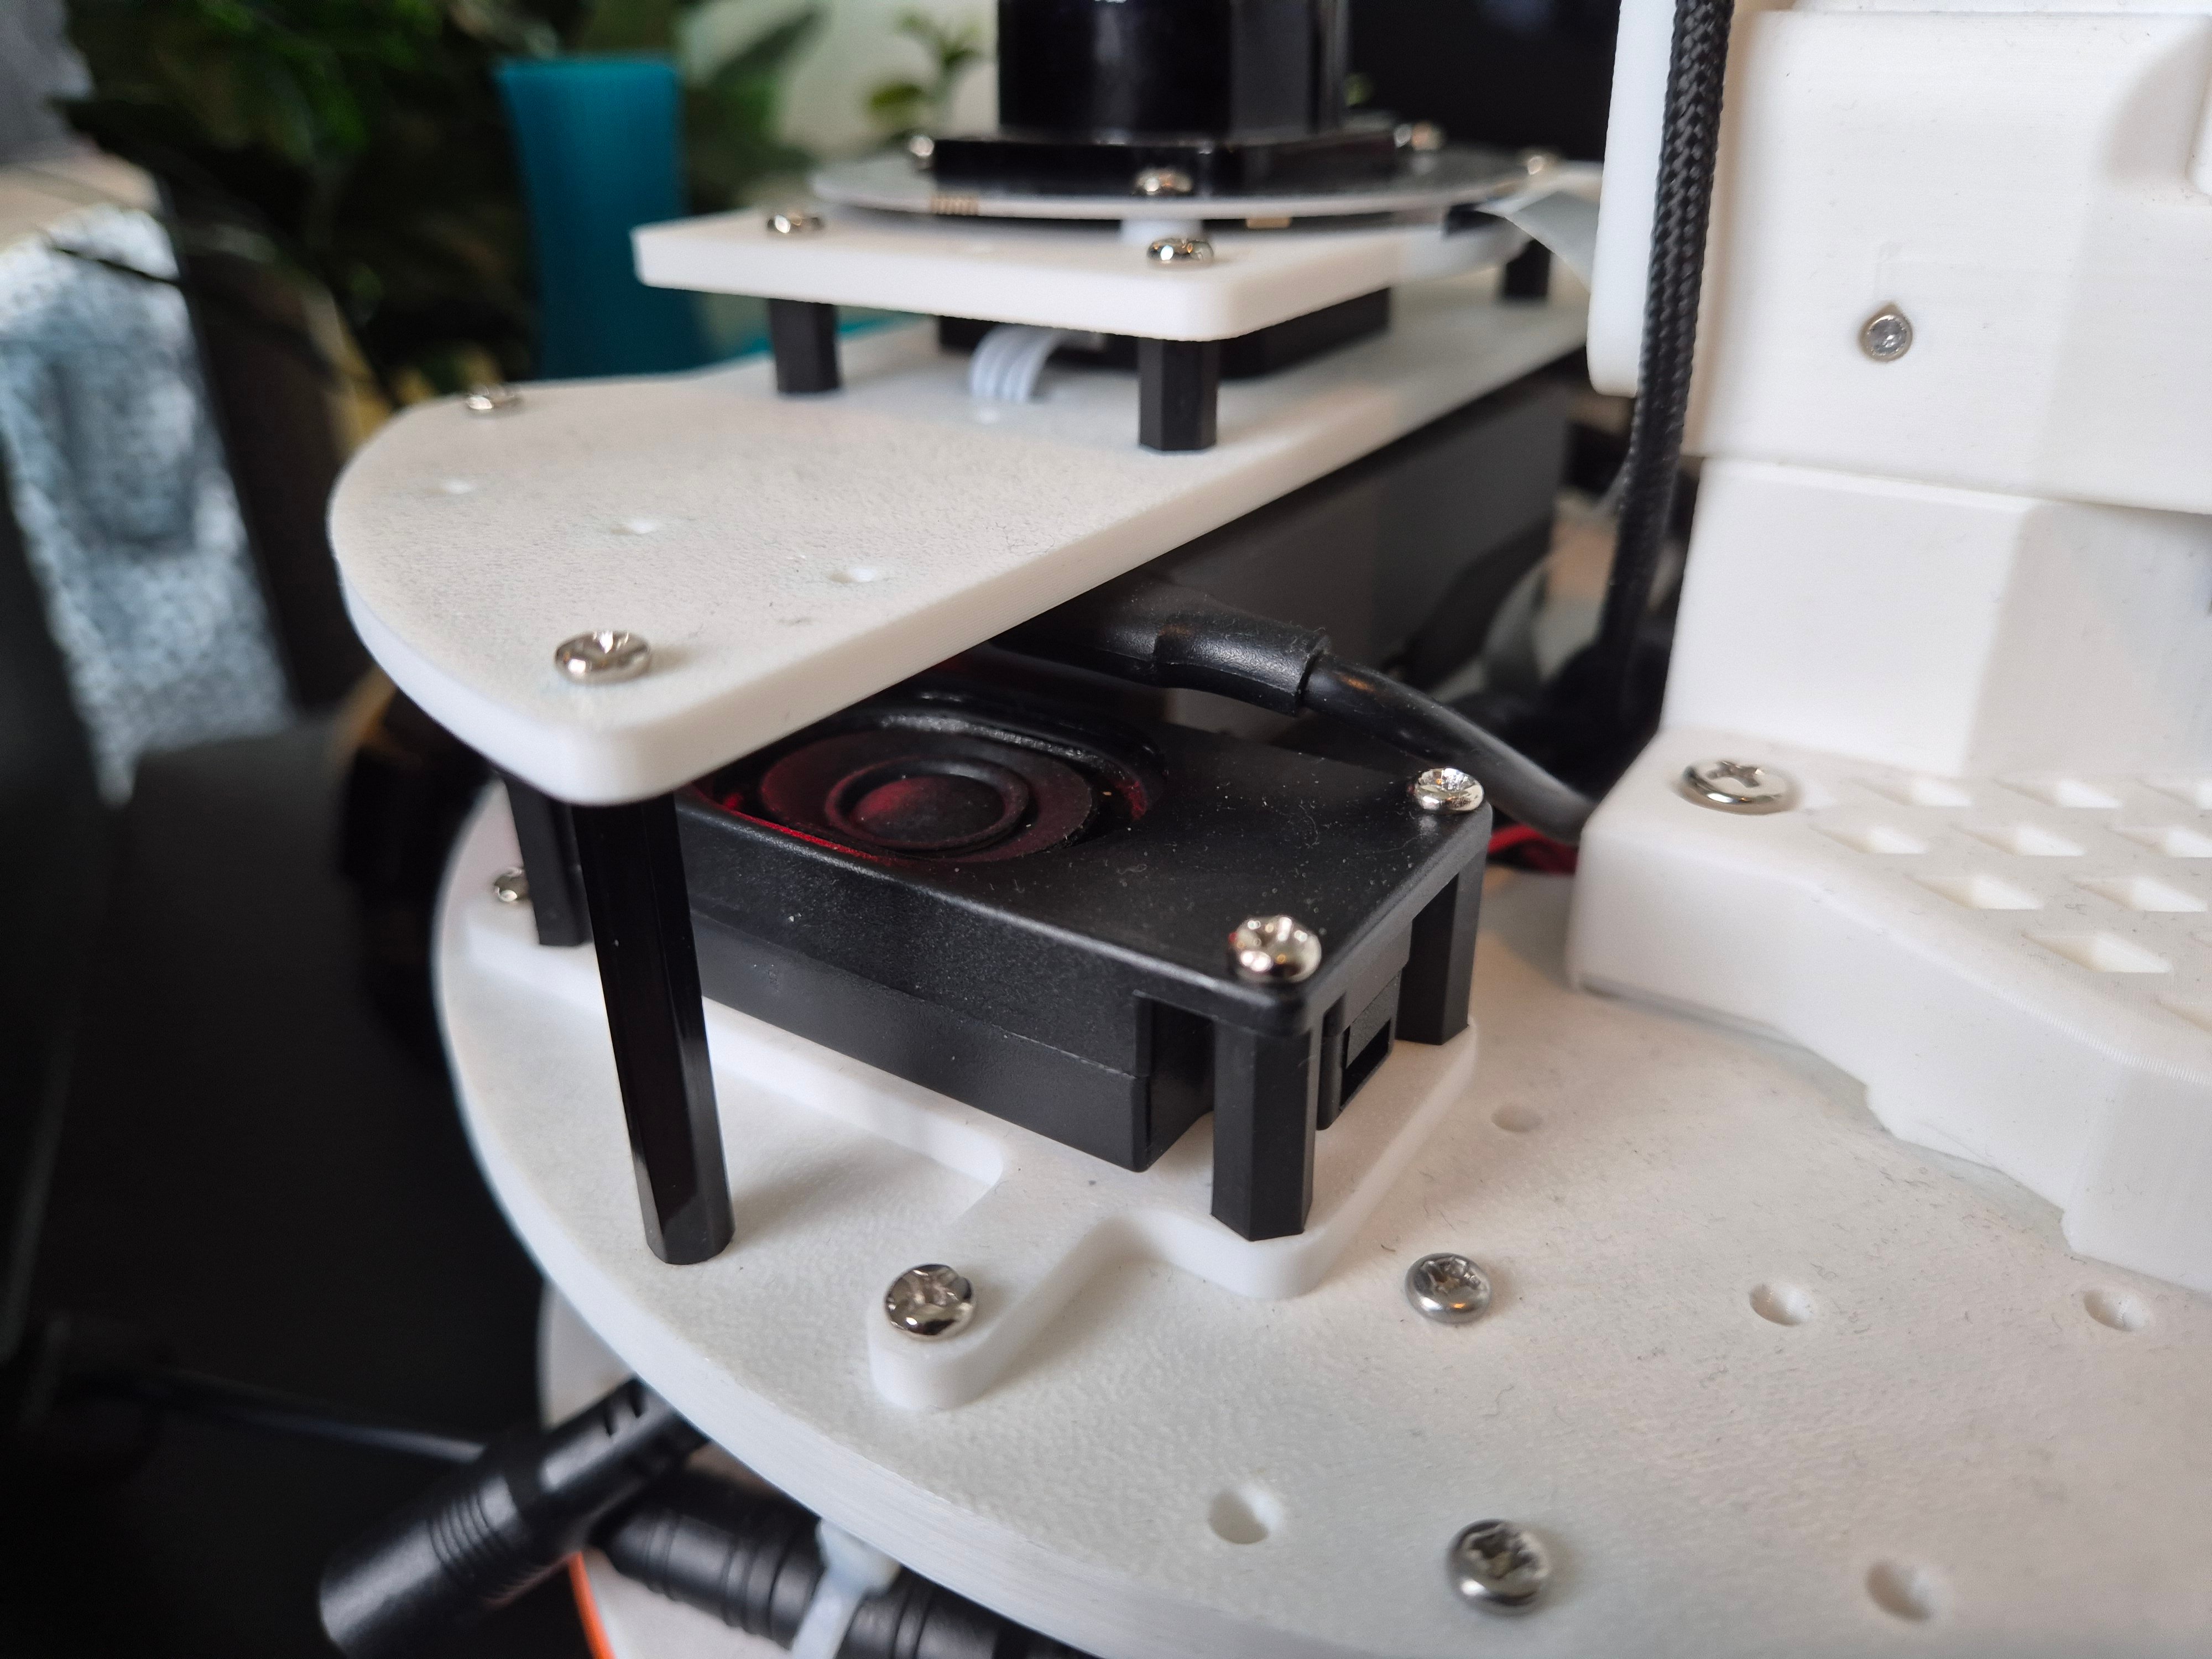
With the hardware in place, it was time to get it running and see what the microphone could actually do.
Getting It Running
Plugging it in was the easy part - one USB cable into the Pi, a udev rule so I don't need root to talk to it, and pyusb installed. From there, everything below is really just a parameter on the XVF3800 that I can read over the same USB connection.
I first plugged it into the Raspberry Pi via the USB-C cable. Next, to get the host to actually talk to the respeaker, I needed to install pyusb and set up a udev rule for the reSpeaker device.
python3 -m pip install pyusb
sudo apt install alsa-utils
pyusb is what the test script uses to send control commands over USB. alsa-utils provides arecord, which the script shells out to for the recordings in the far-field and noise-suppression tests.
By default, talking to a USB device's control interface needs root, which would mean the test script would need to be run with sudo every single time. A udev rule fixes that by opening up permissions for this specific device's vendor/product ID as soon as it's plugged in. I saved this as /etc/udev/rules.d/99-respeaker.rules:
SUBSYSTEM=="usb", ATTR{idVendor}=="2886", ATTR{idProduct}=="001e", MODE="0666", TAG+="uaccess"
I then reloaded udev and replugged the device for it to take effect:
sudo udevadm control --reload-rules
sudo udevadm trigger
To get an understanding of the microphone's capabilities, I wrote the test_mic.py script, which runs through DoA, far-field capture, and noise suppression in one go, saving audio clips along the way:
python3 test_mic.py
Here's what each of those tests looks like in practice.
Direction of Arrival and Voice Activity Detection
First up was the direction of arrival (DoA). The XVF3800 can estimate which way a voice is coming from - 0 to 359° around the mic array - along with a voice activity flag (VAD) for whether anyone's actually talking at any given instant. For a robot, that's the obvious starting point: before LeKiwi can turn to face whoever's speaking, it needs to know which way to turn.

python3 test_mic.py --tests doa --doa-duration 30 Just polls DoA and VAD for 30 seconds and prints the results. Walk around the mic array while talking, and the angle should update while the VAD flag indicates whether someone's speaking.

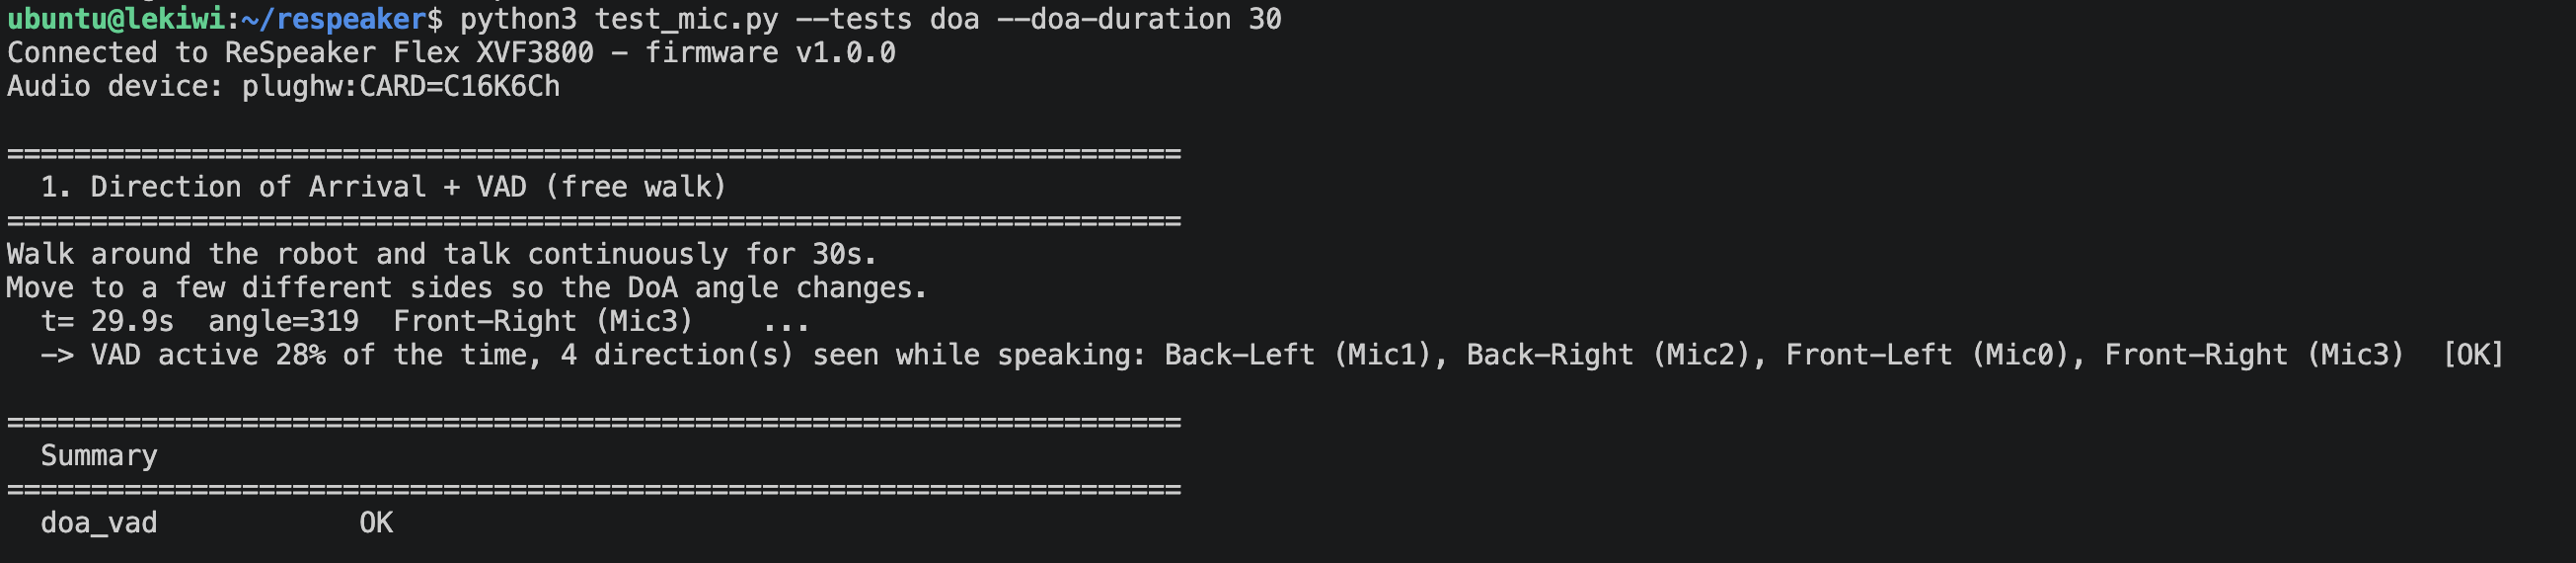
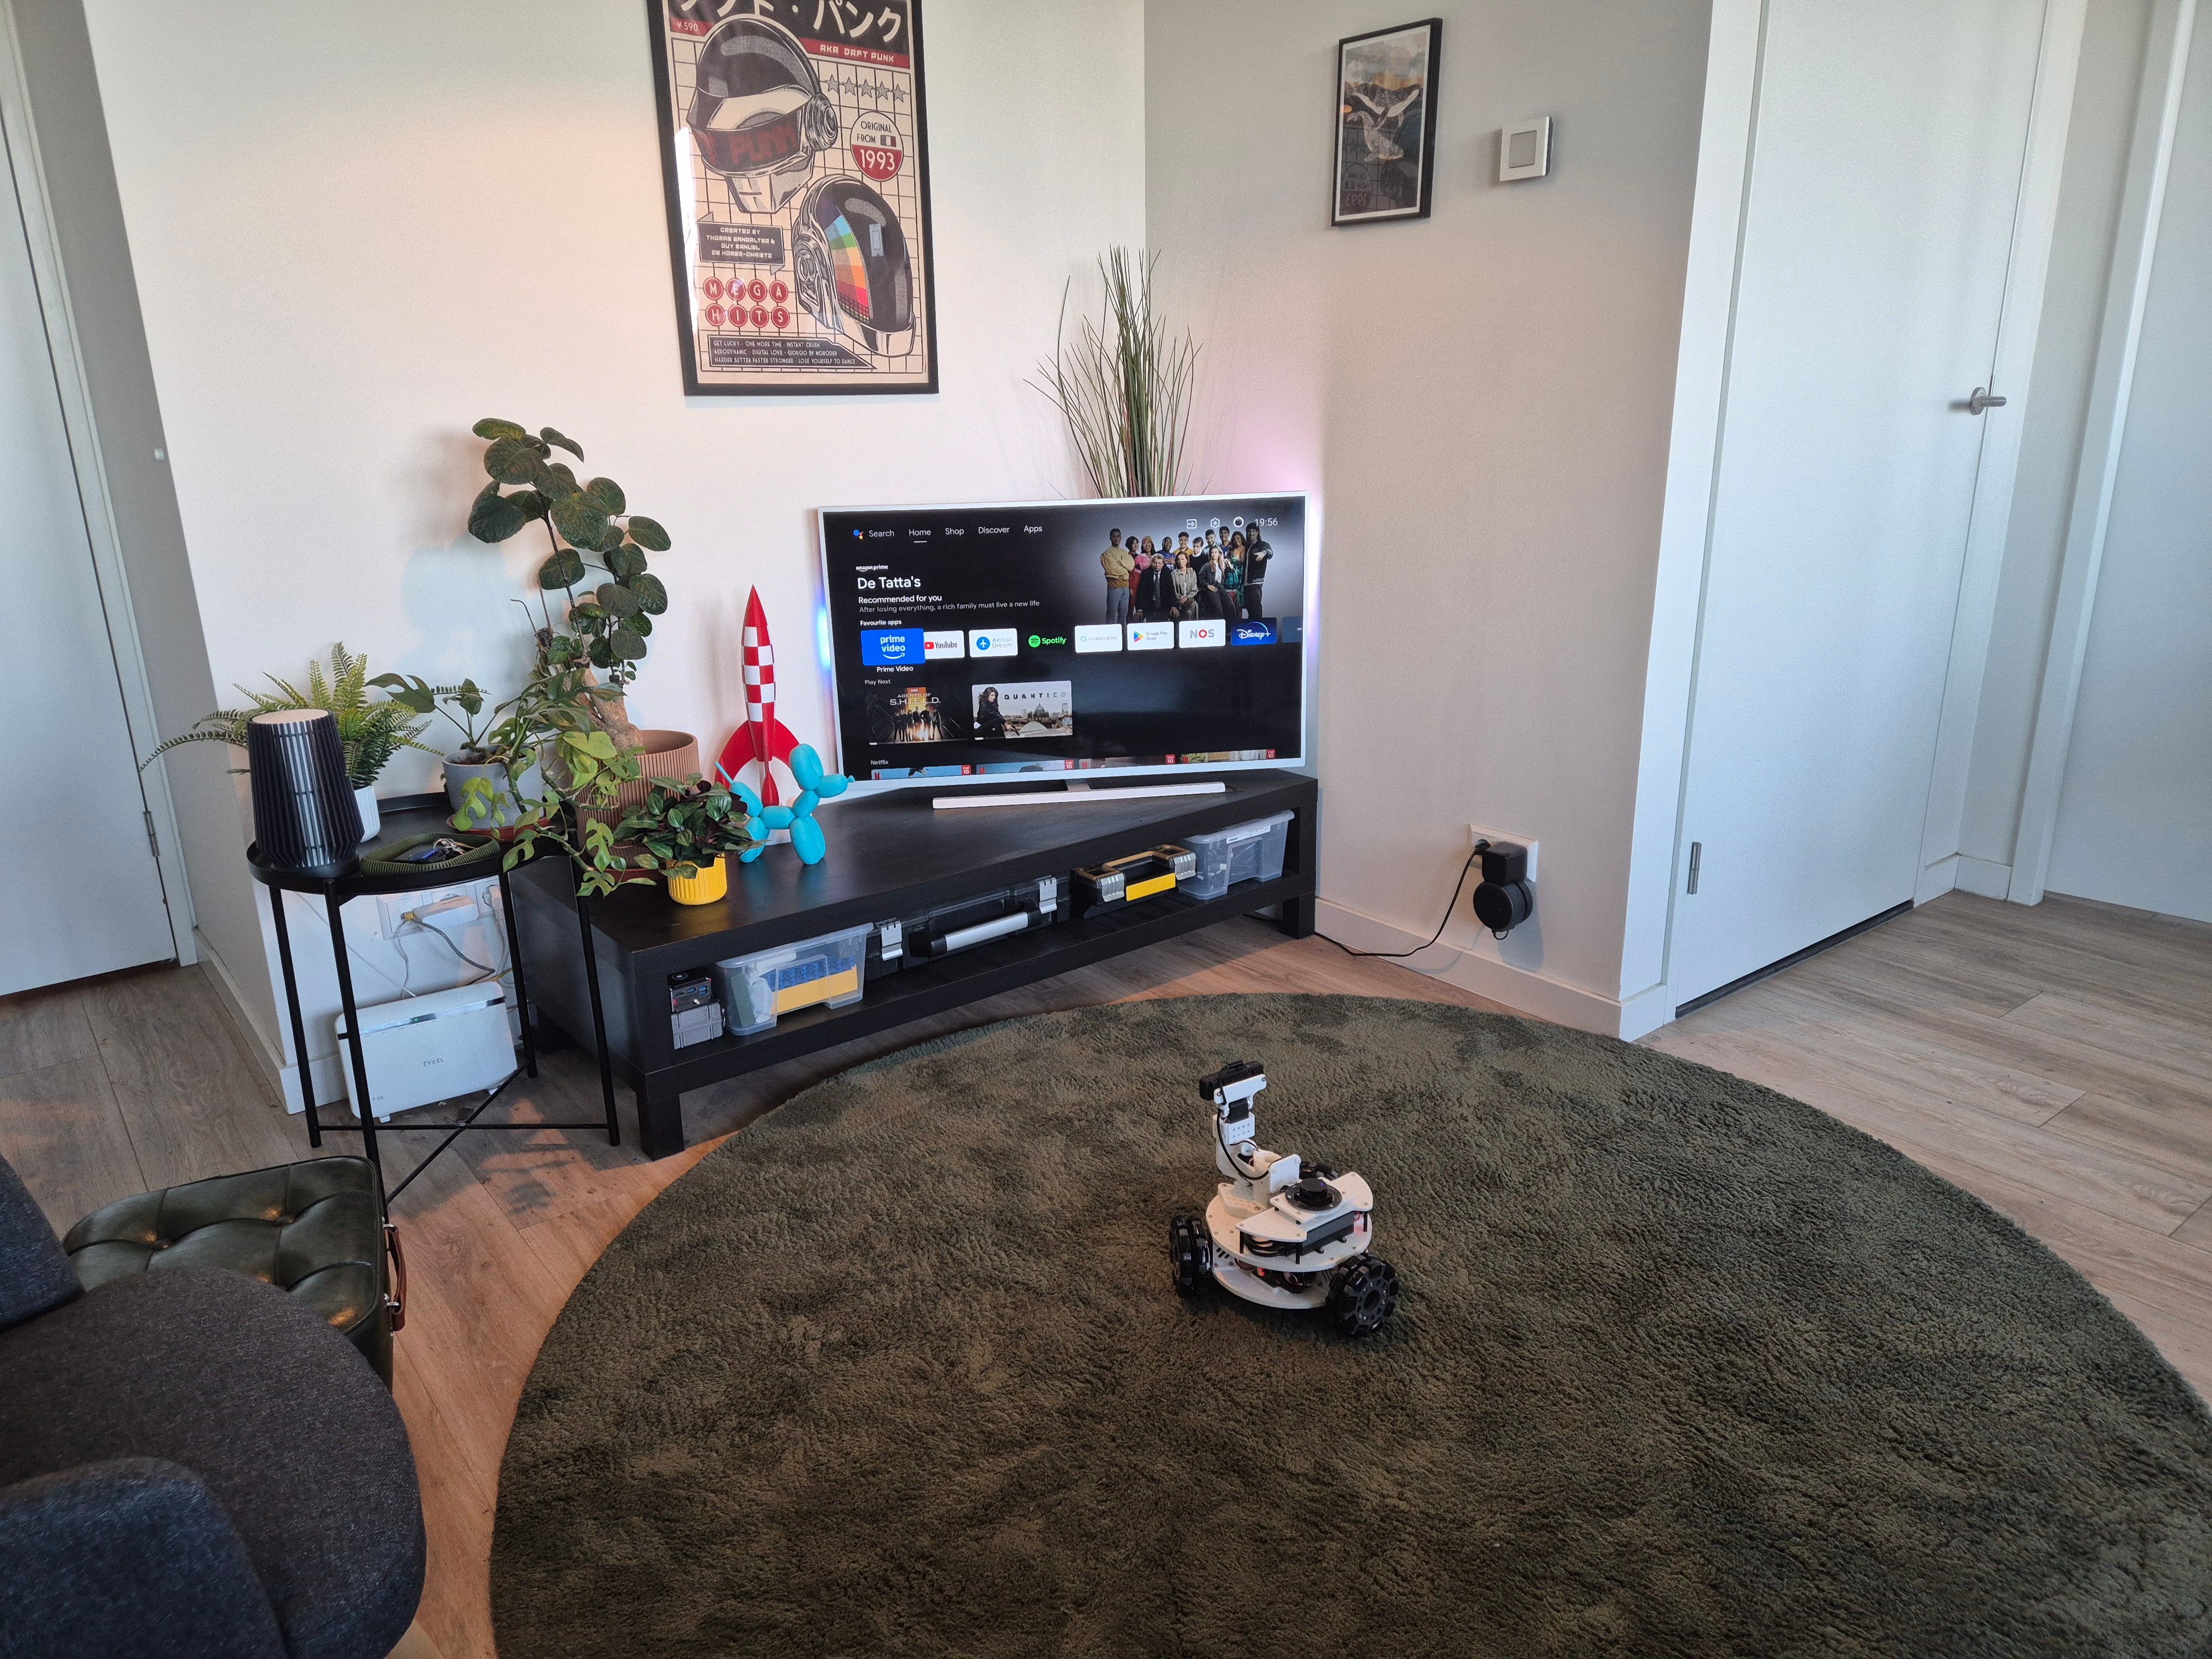
Impressions: I tested DoA and VAD by walking around the robot while counting, and it was able to track the DoA quite decently. The beamforming provides a general direction of the sound source quite well, but it wasn't perfect, the angle would jump around a bit, but it could easily be attributed to the distance from the microphone and different surfaces around the microphone which could reflect the sound. For the LeKiwi, I would say that the DoA is good enough to turn the robot towards the person speaking, and then use the camera to identify the person and track them. The VAD worked perfectly, detecting actual speech and ignoring background noises.
Far-Field Capture and Automatic Gain Control
Next was far-field capture - can it actually hear me from across the room, not just right up against it? The XVF3800 leans on beamforming for the spatial side, paired with automatic gain control (AGC) to even out the volume, so a whisper from a meter away and a normal voice from across the room come out in roughly the same range.
python3 test_mic.py --tests farfield records the same phrase at 0.5m, 2m, and 4m, prompting me for each one and logging the gain alongside DoA/VAD so the clips and the numbers line up.
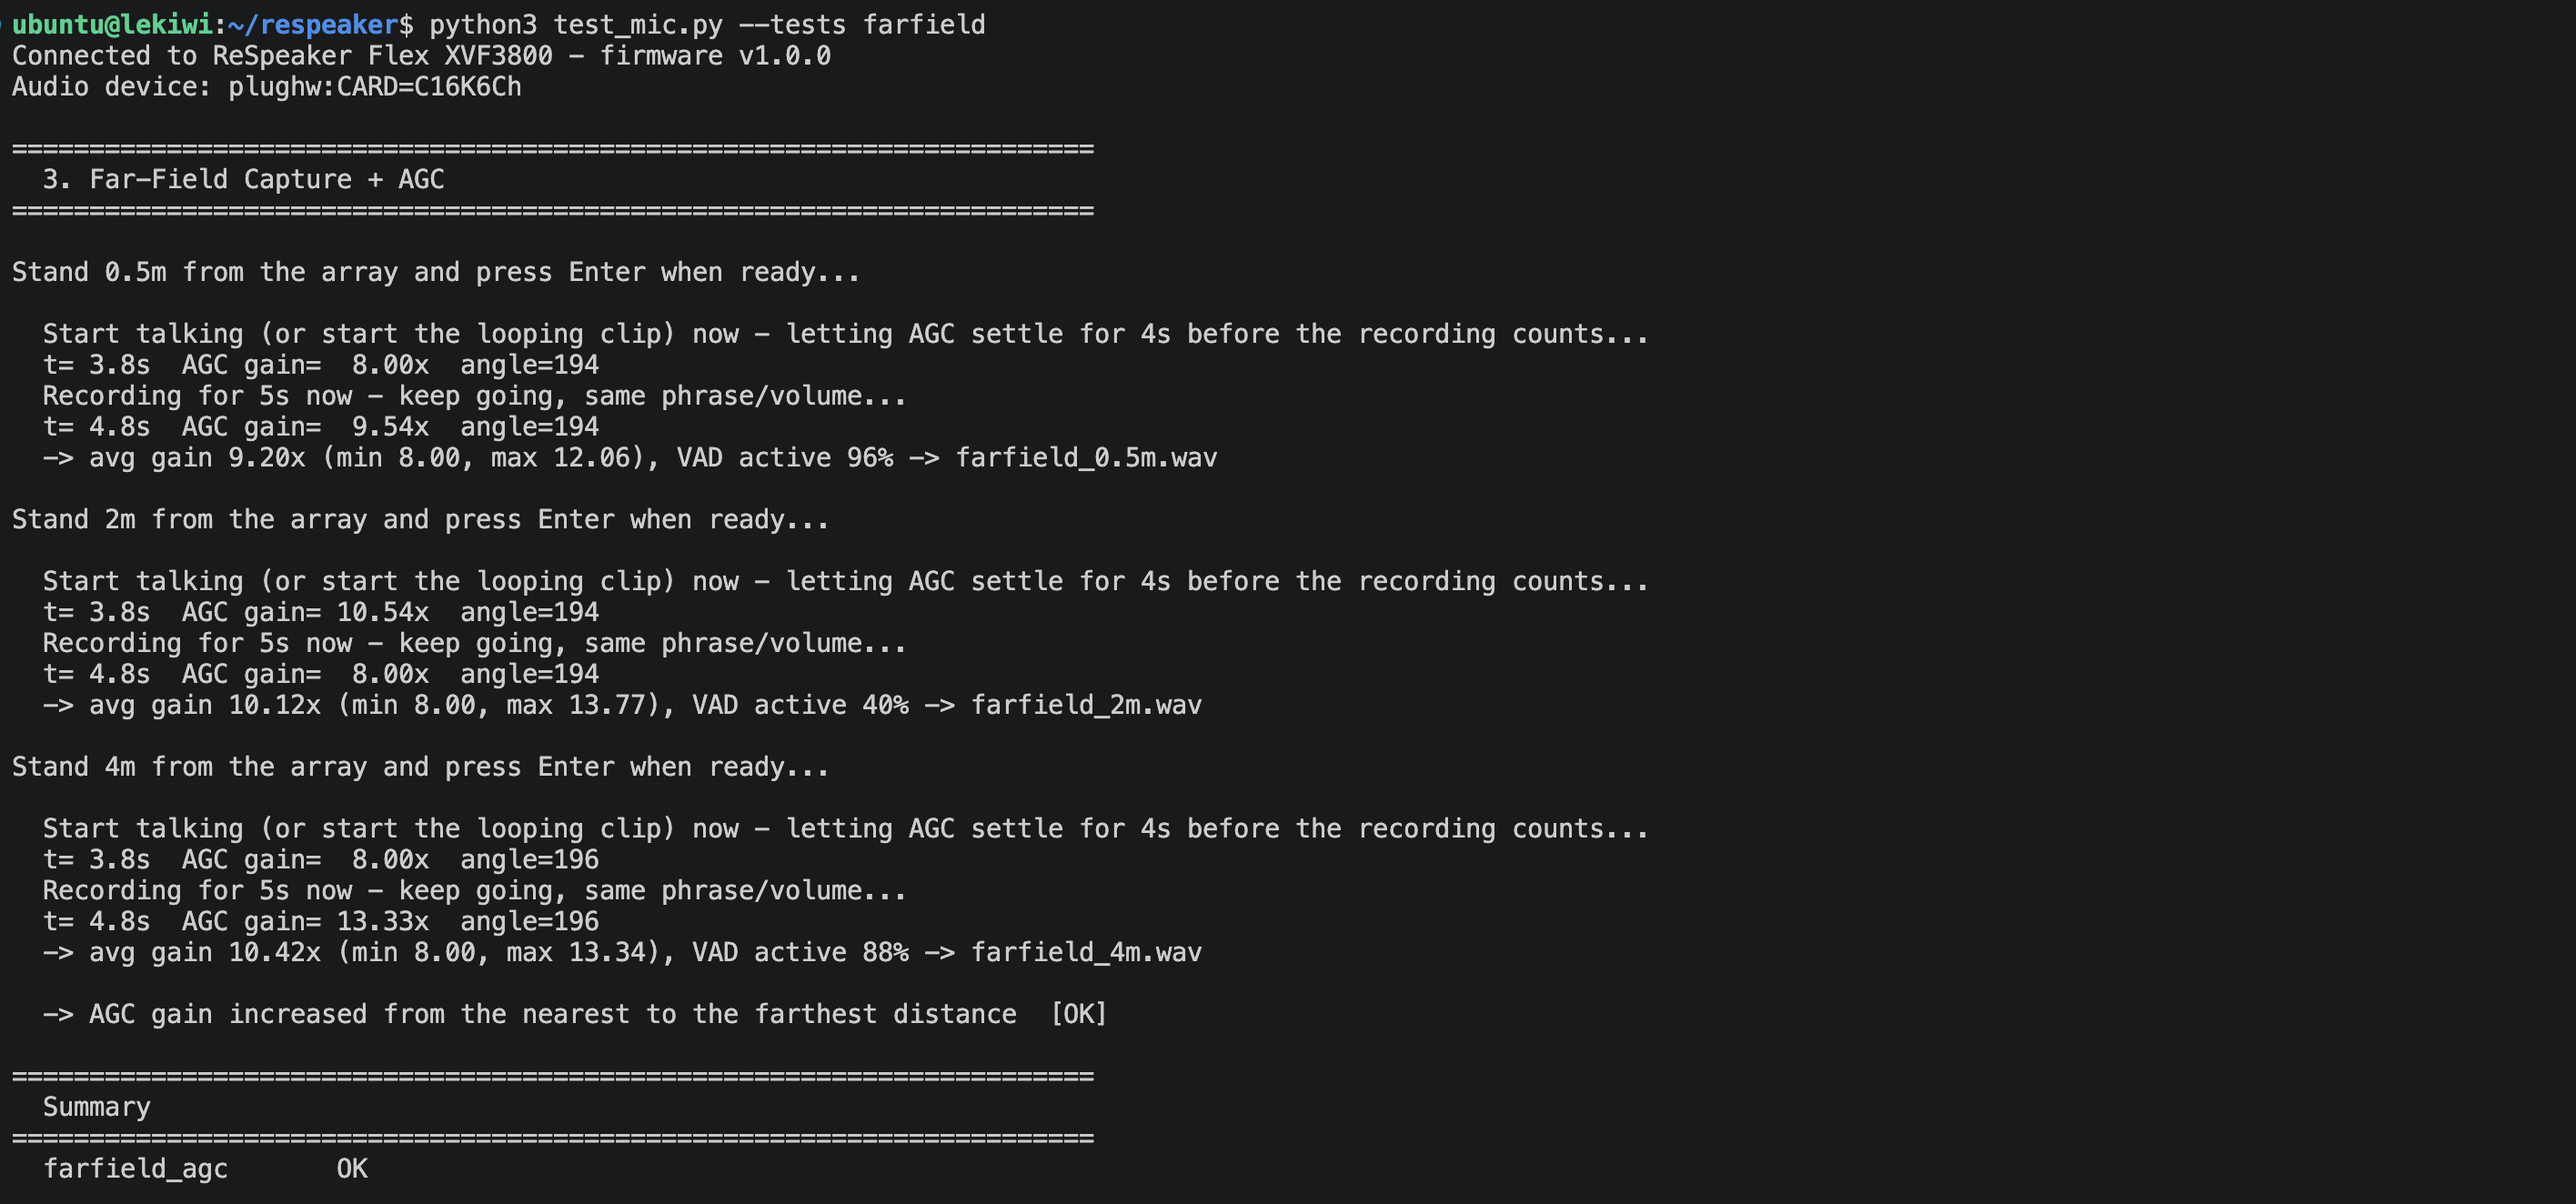
Impressions: As per the prompts from the script, I counted the same numbers with the same volume at 0.5m, 2m, and 4m away from the robot. The VAD was a bit weird and did not work at times, but the AGC adjusted the gain accordingly - a promising sign that LeKiwi should be able to hear commands from across the room, though I haven't done a real side-by-side listen of the clips yet to confirm.
Noise Suppression
Last up was noise suppression. The LeKiwi, especially with the STS3215 motors, is quite a noisy robot, which must be able to detect voices while operating with all that noise. Luckily for us, the XVF3800 handles both the steady stuff (fan hum) and the sudden stuff (a door slamming) entirely on-chip, with no extra work for the Pi.
python3 test_mic.py --tests noise records the same phrase with background noise running, once with that processing switched off and once with it on - a direct A/B, plus a rough before/after noise-floor comparison.
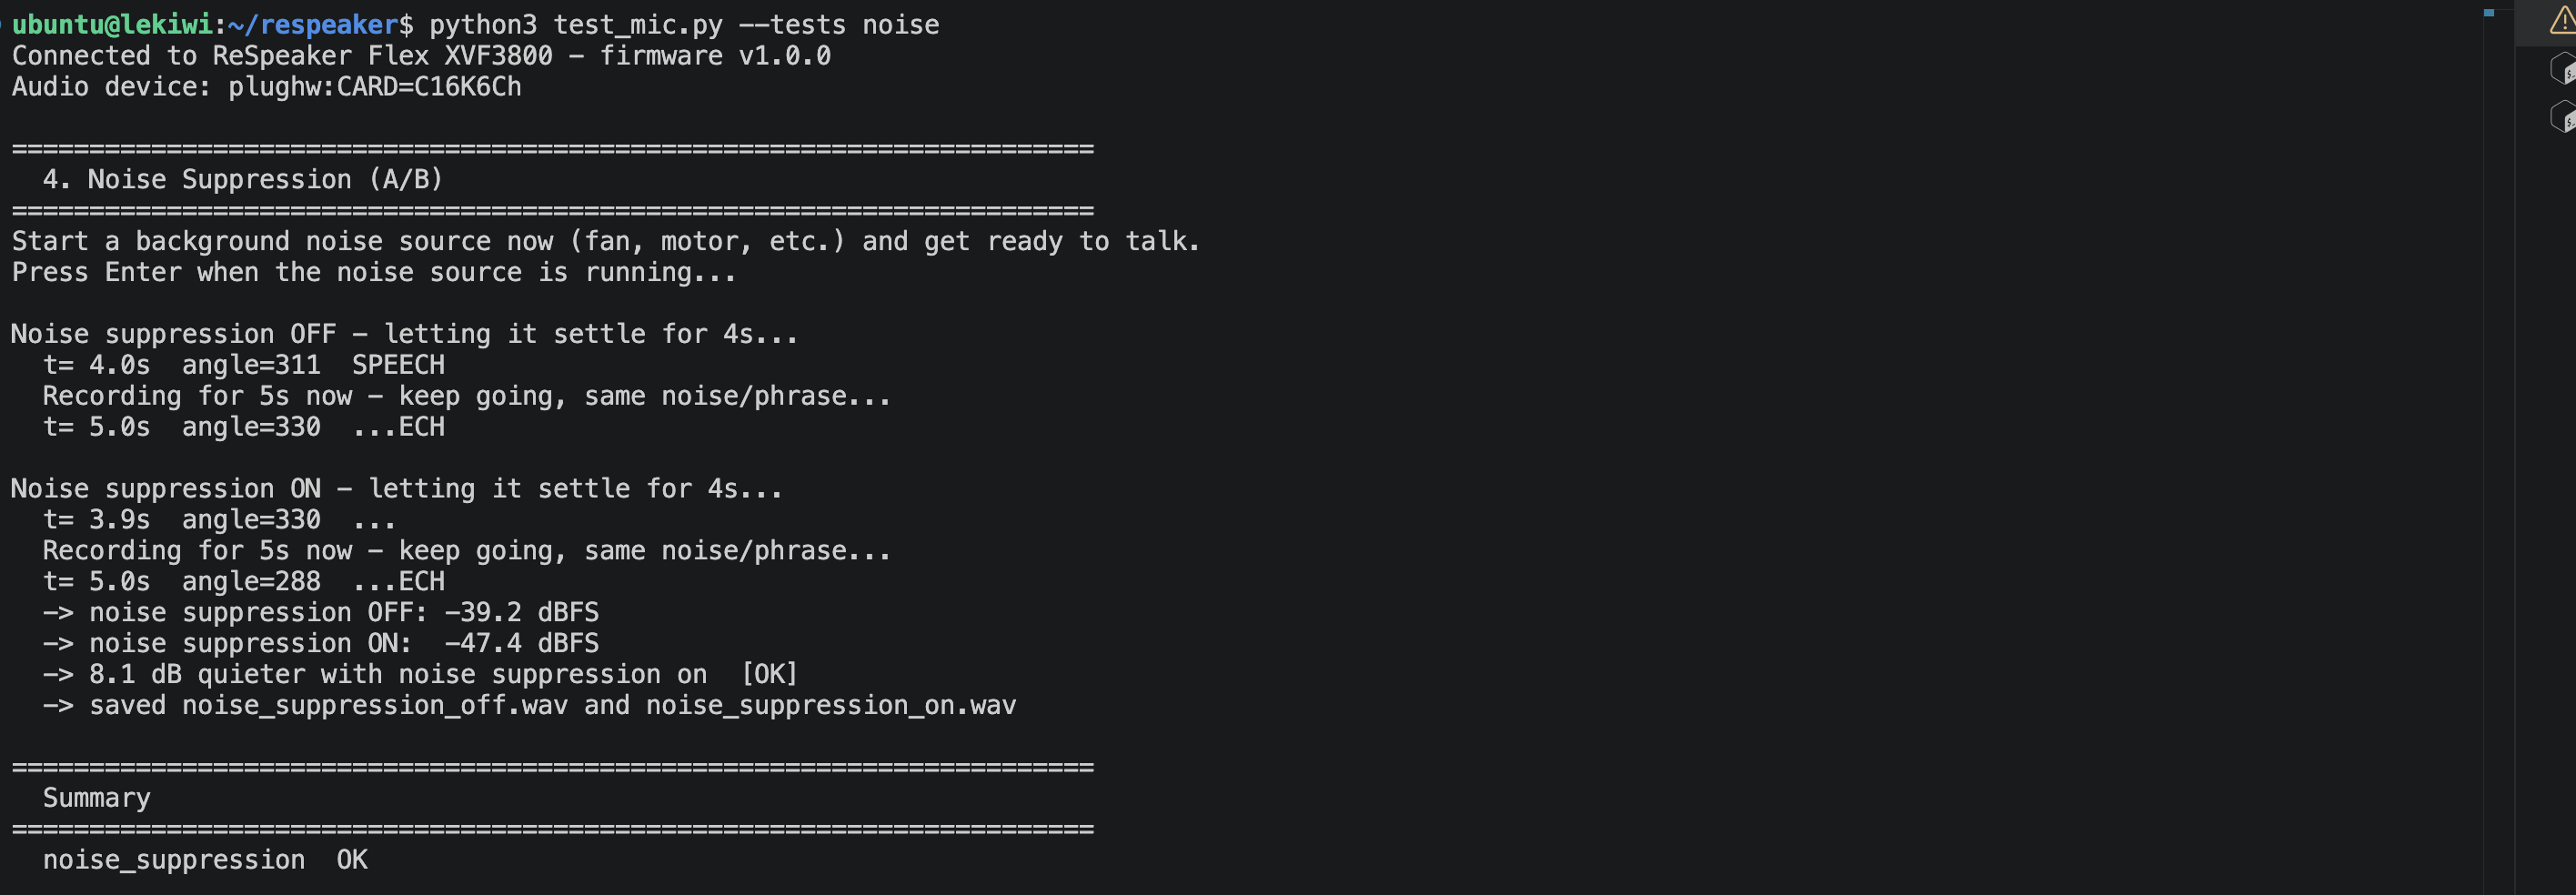
Impressions: In both cases, I drove the robot around while standing at the same place and counting with the same volume. The test runs in two phases, once with the noise suppression off and once when turned on. Comparing the two, it determines the amount of noise that was suppressed, and it seems to be working well. It was also able to detect speech using VAD in both cases, and the DoA also varied as I moved the robot around and rotated it, although this wasn't very accurate.
What's Next
With the mic array performing well for my voice-control application, the next step is to configure audio playback so that the speaker is actually usable, which will allow me to validate features like Acoustic Echo Cancellation (AEC).
Once the audio playback is working fine, I want to set up a pipeline that uses wake word detection and records voice commands using the mic-array, converts the speech to text, passes this to nanobot, and converts nanobot's response to speech, which is played back from the speaker.
Of course, I need to fine-tune this plan further. For now, I'm glad to have assembled the reSpeaker flex onboard the LeKiwi and made sure that it is working. The test script I used can be found in this GitHub Gist. You can find more resources and example applications in Seeed's reSpeaker Wiki.
As always, feedback and contributions are welcome. If you have ideas or experience setting up voice-control or voice assistants, then please reach out! This is my first time doing anything with audio, and I have a lot of questions.